My Photobooth Project…

 I needed a photobooth for my wedding (this was one of my few assigned wedding tasks!). You know, one of those ‘take a few photos of guests, and print them’ sort of thing, like the early film ones . Early on, I built up a list of things I really wanted to achieve with it, as there are many options that I have seen floating around the internet.
If you want to jump straight to the ‘HowTo’ for the final setup I used, I have a full detail of the actual build here
Planning
My Overall System Requirements
- It needed to be ‘self service’. I wasn’t going to get any time on the day to attend to it and explain it to people. It needed to be completely unmanned and if it automatically took a photo that someone didn’t like… they can just take more.
- It had to have minimal maintenance. This means I needed plenty of printer paper in the stack, permanent power on as many items as possible (or easy change out), easy reset if things went wrong.
- It needed to be cheap and preferably use existing stuff I had around. I never like buying expensive stuff to solve issues like this… It is much more fund to scavenge from my masses of existing
junkgear. - Easy transport and set-up… I didn’t want to spend hours with setting the thing up and didn’t want to have a forklift and trailer to move the whole system around.
- Robust, meant ‘some solid way to get it to start’, either a big red button, well labelled remote or foot switch etc
- Must have a photo preview screen of some sort… a ‘mirror’, or just standing behind a frame wouldn’t cut it in my opinion.
- Needed to have a customise-able, personalised ‘4 up’ or similar layout like the old style photo booths (but to 6×4 photo paper)
- Preferably… reuse. Would be good once set up and documented that others could use the same system.
- And finally, I really wanted to upload photos, automatically, to display on a website (you might like to use social media of some sort – I just wanted a web display for guests, and maybe even a slide show)
Hardware I had to play with…
- I had existing laptops and a few single board or small computers such as Raspberry Pis and NUCs
- I had a bunch of Android tablets, older phones, Android ‘boxes’ and even an Ouya
- I had plenty of cameras, from webcams, security cameras, IP cameras, tablet/phone cameras, a few SLRs and more.
- I had some accessories such as lighting, backdrop stands, tripods etc.
- I didn’t have a decent spec photo printer, but planned to buy a new inkjet anyway.
- I have soldering irons, and hammers
Research
I did a bit of research and talked to a few people. I wanted to tick off a simple system first up, and then plan a more complex one. I could use the simple one if option 2 had issues (or I ran out of time). I looked around at a number of pieces of existing software, scripts and projects from people and looked at rolling my own. I found setups that used everything from a full laptop/desktop, to a Raspberry Pi, and android devices such as phones and tablets.
I had heard of more detailed photo booth software and started looking at full suites such as Dslrbooth, Breeze’s Webcam Photobooth, Socialbooth and Sparkbooth. They generally run on windows and mac and start from around $50 US, heading toward the US$200 mark. There are other DIY projects on Raspberry Pi such as this set of instructions, and this one, both of which used the Raspberry Pi camera module (similar to a 5MPix webcam). There are other higher quality camera ones such as this, and this one uses a full SLR (I contemplated looking at this method, but no preview screen wouldn’t work for me which would mean more scripting work).
System 1, Party Photo Booth on Sony Tablet S
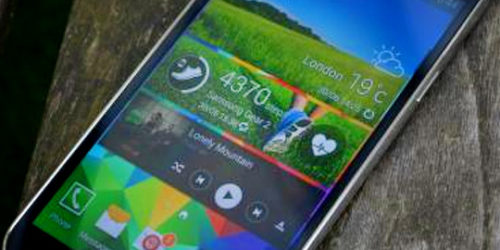
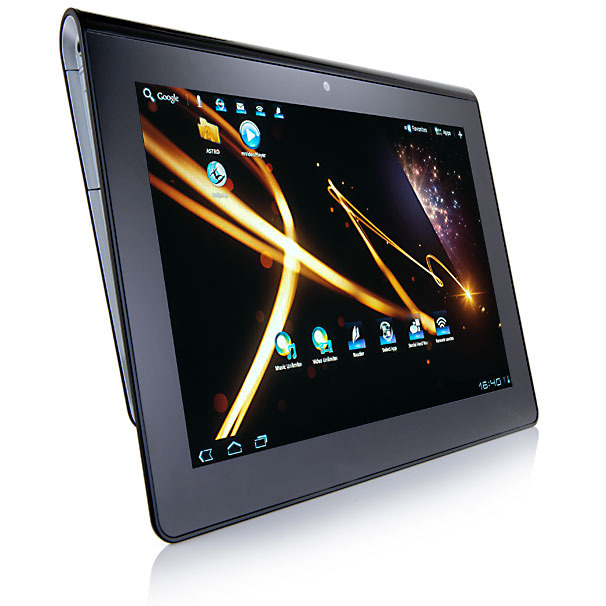
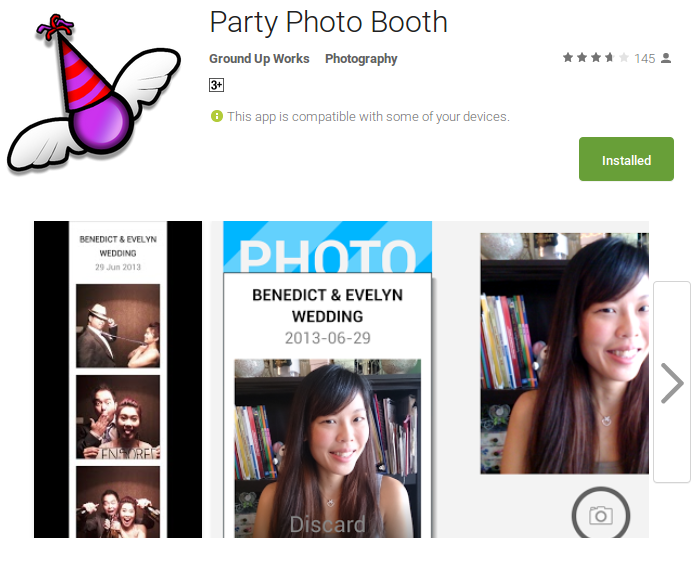 My first working system used my Sony S tablet which I got in about 2012. It runs Android ICS V4.0. I found a nice little android app called Party Photo Booth on the play store that looked like it would do the job, and I got the whole setup working pretty quickly. I have left this ready and setup as a backup plan. There is a fair bit of documentation around for using it, including an ‘indestructible’ how-to.
Features
- This was a really easy setup, and the app was less than NZ$4 when I got it from the play store. I really didn’t have any hardware or software issues getting it to work.
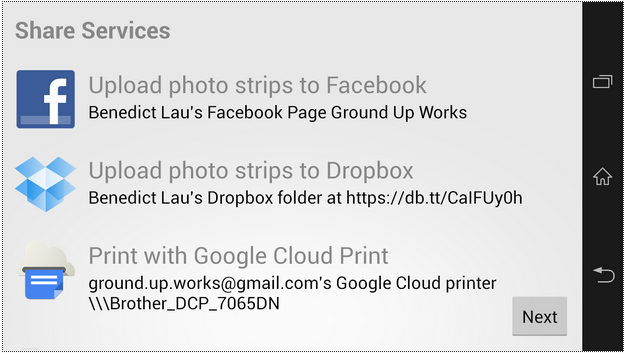
- Uploads to a website can be done, I used the tablet to sync them to google photos, and the app to upload to dropbox. If I needed to I could do more to get them to the right place. You can also use facebook auto upload if you wanted to. The app even touts that it will ‘retry uploads’ if you lose connection, which is a great feature.
- The app has a ‘kiosk’ mode, which is important. We don’t really want guests ‘accidentally’ get
 ting out of the app.
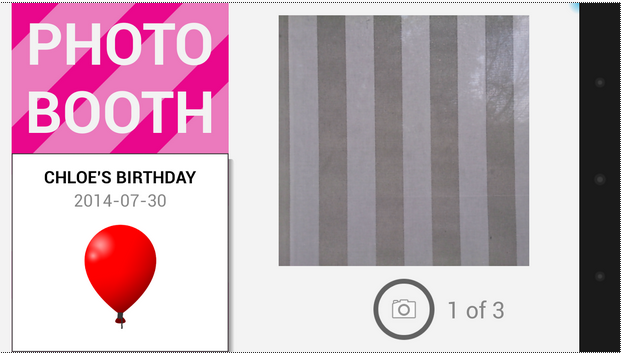
 - The app has a nice large countdown and ‘timer beep’ to tell you it is about to take a photo
- You can choose from a layout of say 3, 4, or 6 photos for each print. You can even print more than one copy of each set.
- You can print via google cloud print and I had this working on my brother printer just fine.
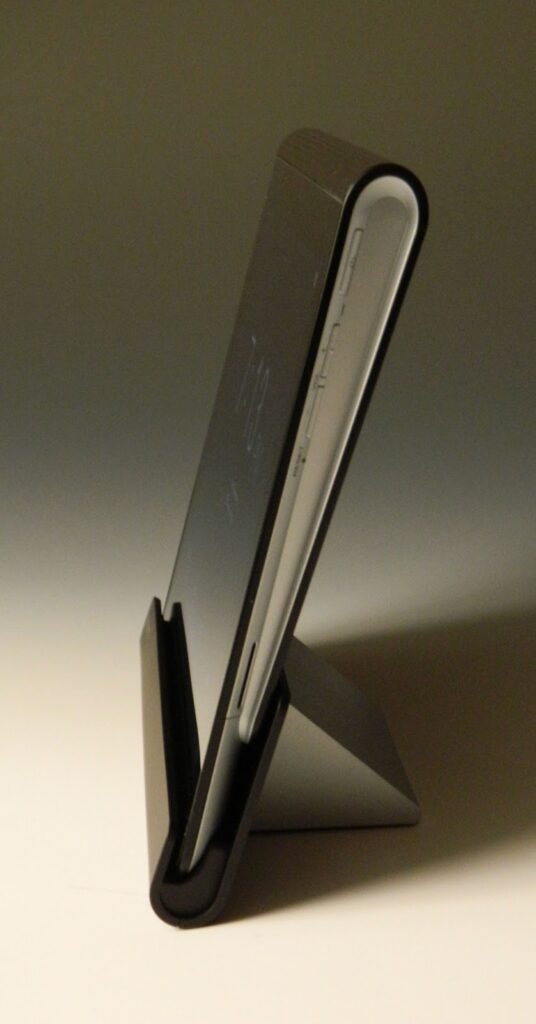
- The Sony tablet worked great for this purpose as it has it’s own decent ‘click-in’ power supply (actually it has a nice slot in dock), it was a nice size for seeing the screen and has a full size SD card slot for storing the photos. If I needed to, I could tripod mount it, but just sitting it on a box on a table would work fine.
- The setup is portable… you can take it around the room when still in wifi range and snap away.
- You can use a bluetooth remote to click start (one of those cheap selfie remotes). I have one and have no doubt it would work, but I didn’t need to try.

Limitations
 The app is really only useful with the tablet’s front camera. I could possibly use the rear one somehow, but still… the quality isn’t fantastic, and the app doesn’t allow repeat photo taking with a rear cam anyway. There is no option to use an external camera. At all. Although they will only be fun snapshots, we can do better.
- Template layouts are very limited. You can choose from some simple ones and add a logo, but that is about it. The header text on it has one font option… and all CAPITALS.
- Printing only uses google cloud print… this needs an internet connection (luckily I had
 planned to have one anyway), but they don’t generally use all the printer features such as borderless printing etc. Later versions of android can actually use printer plugins to print locally over wireless, but I’m pretty sure the app doesn’t support it.
 - The app appears to have ‘lots of feature requests’ with the developer, and they have noted that it is a ‘work in progress’, but I haven’t seen anything released since April 2015 (it is 10 months later I have written this)
System 2, SLR Booth on Android TV Box
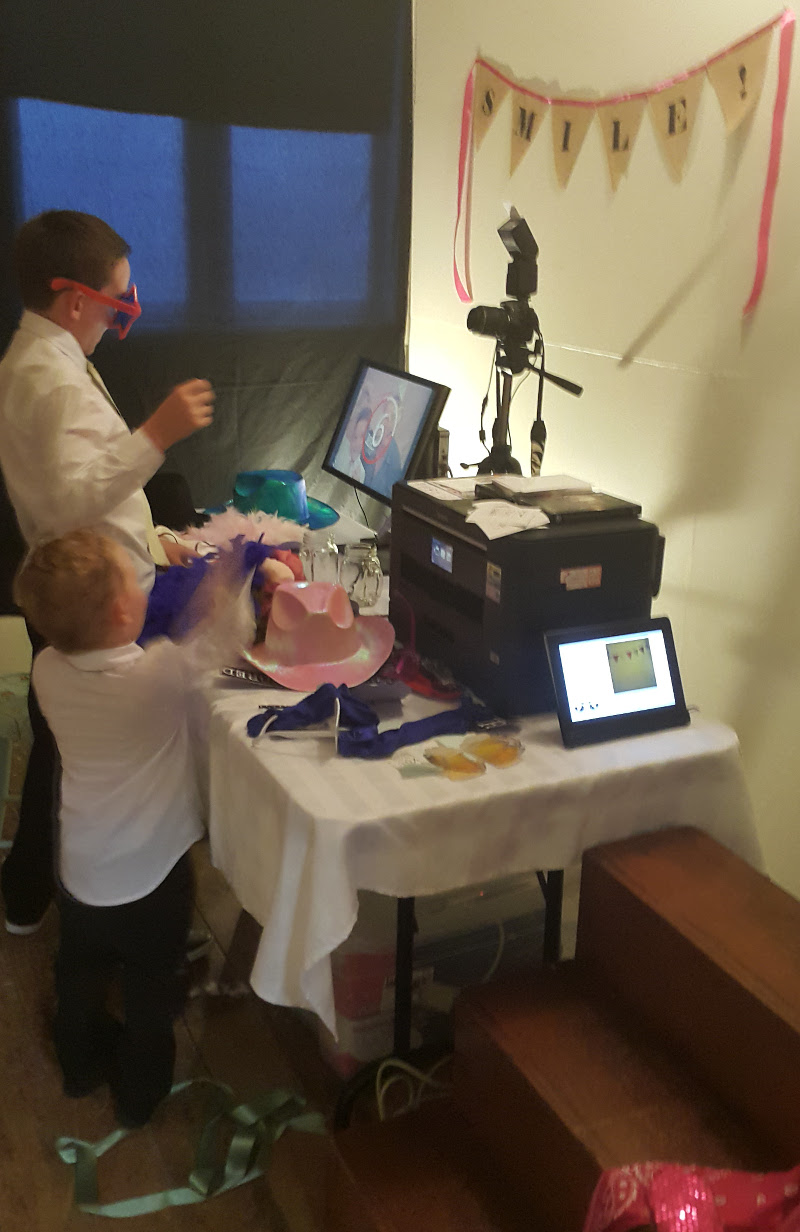 A colleague of mine pointed my to SLRBooth (which he had recently used for a wedding), so I thought I’d give this a go and see if it did everything I needed before going full out with a custom build.
I have a full detail of the actual setup with more photos here
Features
- Just another Android app from the Google Play Store which is great and only NZ$10 at time I got it. Plenty of documentation around including a Youtube video with the features and setup.
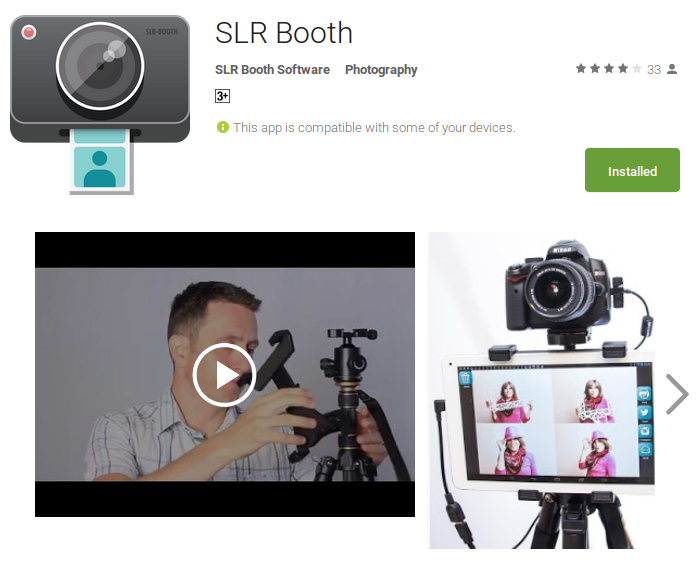
- Uses an actual SLR connected to an Android tablet or device. In this case then there is no compromise in the quality of photos. I can hook up the studio flash, put it on a tripod and use a decent portrait lens. it even supports RAW files.
- Has the ability to create your own complex templates of pretty much any size and quantity of photos.
- Supports bluetooth remote (if the hardware does), or some sort of button/remote that ‘presses the space bar on a keyboard’
- Printing works fine with the Android capabilities (built in to recent Android versions), and google cloud print. I tested both of these. It would be nice to be able to print directly via USB to gain features like borderless printing, but Android doesn’t really support it. The app documentation does talk about USB printing, but I didn’t have much success with my printer.
- There are a few options for uploading to social media etc.
Limitations
- Where is the sound? The app doesn’t beep or allow any noise to tell you it counting down. I quite like the idea of a timer beep… but of course you may not in a party atmosphere. I would suggest be easy to build into the app ‘any sound’, which means you could even put in a voice countdown or personalized voice message.
- Not enough ‘auto’ upload facilities. The app includes the ability to, upload to twitter, facebook and a few others, but I really wanted to send out each completed photo by email so I could use some scripting magic to automatically post them to a website. It does have options for people to ‘click to email’ or ‘click to upload’, but most of these options are ‘user actions’ and my photo booth needs to be 100% automated.
Hardware hurdles…
- Straight away I found that my Sony tablet wouldn’t work. SLR Booth required Android Jellybean as minimum and being a few years old (and full of Sony corporate non-openness…), I was pretty much impossible to upgrade the Android OS to anything past ICS. I had rooted this device in the past and used custom ROMs on it, but there wasn’t anything newer that I could successfully use.
- I had at least 4 other 7 inch tablets and smaller (which is getting a bit small for screen real-estate, but I needed to try), but these all had issues
- The tablets just had one USB micro port. I have a USB OTG adapter which means the camera can connect to it (the cheapie had no OTG cap
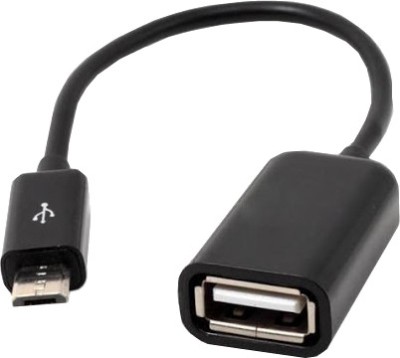 ability at all) so I’d need some sort of USB hub to additionally provide continual power, and then connect something like a mouse/keyboard/printer etc if needed. I did test one of the better HP ones, which worked ‘mostly’ but was very inconsistent and would often loose connectivity with the SLR.

- The Samsung Tab needed a specific USB OTG connector as well, that I didn’t have on hand (although I did find one later). Also… it has a pink rubber cover… and lots of episodes of Doc McStuffins on it. I doubt the 5 year old would want me to re-purpose it for this project. I found out subsequently that my colleague had actually used a Tab 3 with a useful OTG connector he imported that had a full USBA connector and micro, so he could connect the camera and power at the same time.
- The tablets just had one USB micro port. I have a USB OTG adapter which means the camera can connect to it (the cheapie had no OTG cap
- I
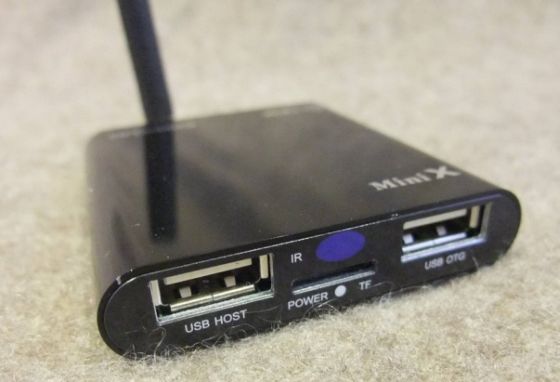 had a great little android box (that also will run linux), a few years old that had 2x USB ports, decent plug in power supply, wireless and HDMI output called a Mini-X. This too only supported ICS, and I couldn’t find an easy way past this. The manufacturer doesn’t seem to exist any more.