ESP8266 with PWM to control a computer fan
Summary
Use of an ESP8266 to PWM control a 12Vdc, 2-wire computer fan, with a MOSFET (first with Tasmota, then a change to using ESPHome)
Goals
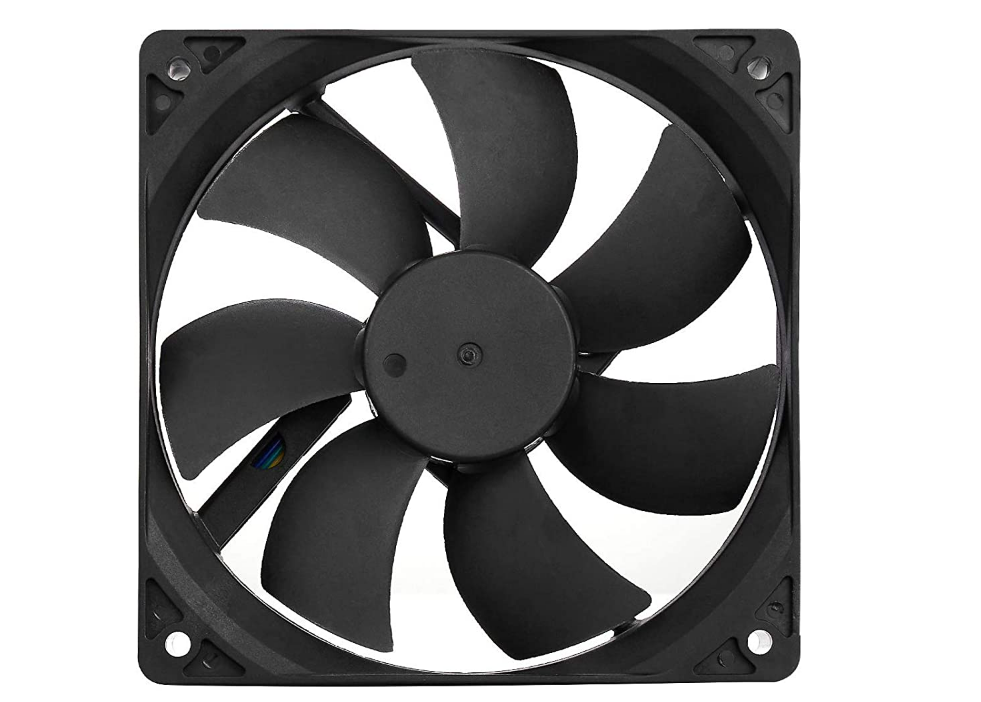
I wanted a simple speed control of a computer fan (or multiple fans) for temp control of a data cabinet. Previously, I had fans just switching on and off, and they were pretty noisy and gave little control of temp.
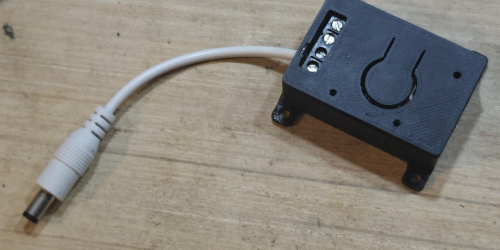
I had a ACW-1A board from PMB Electronics, which has a carrier board for a D1 mini, and includes a MOSFET amongst its I/O components.
My plan was to be lazy and use Tasmota, as it is an easy install with support for lots of I/O control, including PWM (rather than code something with Arduino etc)
The board includes (among other things) the Mosfet at GPIO16 and a relay at GPIO15
Tasmota Setup
With Tasmota set up and the I/O assigned, the commands can be used as below. Assume the relay is assigned to “Relay 1” and mosfet to “PWM 2”
Tasmota does confuse things a bit with lots of systems added over the years, and lighting control is quite tied up with PWM. I’m sure there are options to decouple these entirely, but I found that you only need two commands to do the control (for PWM)
Set the PWM channel 2 to 0, which is “Basic PWM” (no lighting colour/dimmer commands). Then on your configuration dropown, select PWM2 for GPIO16.
pwm2 0Then set the PWM frequency from 40 to 4,000Hz (note you can set an ESP32 from 40 to 50,000Hz)
pwmFrequency 4000Tasmota was ok, but the fan was really noisy. The PWM frequency wasn’t really high enough. Some research showed that the developers of Tasmota have left the max value at 4,000Hz on the ESP8266 so there aren’t interruptions to other critical Tasmota functions such as WiFi etc.
My options to improve the speed were
- Recompile Tasmota with a higher max frequency for PWM (not hard, but may have caused other issues)
- Use an ESP32 (I would have had to spend another couple of $… and didn’t have one on hand)
- Write some code (doable, but that isn’t the lazy way out and doesn’t give you the features such as MQTT/HA interfacing simply)
- Use ESPHome or another project for the ESP8266. I hadn’t really used ESPHome, but it was a good time to do so and something I’d been meaning to look at for a while. This was the option I went with.
ESPHome Setup
This is the ESPHome YAML I used for the controller (MOSFET on GPIO16). It gives a web interface so you can see what is going on if you like, Home assistant support (with an option to ‘control the fan from 0-500 steps’) and sets PWM at 25,000Hz which was much better in terms of noise.
esp-netcupfan2.yaml
#############################################
# ESPHome
#############################################
esphome:
  name: esp-netcupfan2

########################################
# Specific board for ESPHome device
########################################
esp8266:
  board: d1_mini

#############################################
# ESPHome Logging Enable
#############################################
logger:

#############################################
# Enable the Home Assistant API
#############################################
api:
  encryption:
    key: !secret esp-netcupfan2_api_key

#############################################
# Enable Over the Air Update Capability
# Safe mode will detect boot loops
#############################################
ota:
  safe_mode: true
  password: !secret esp-netcupfan2_ota_pass

#############################################
# Use Wifi
#############################################
wifi:
  ssid: !secret wifi_ssid
  password: !secret wifi_password
  # Details for fallback hotspot
  # in case wifi connection fails
  ap:
    ssid: "Netcupfan2 Fallback Hotspot"
    password: !secret fallback_ap_password

#############################################
# Fallback captive portal
#############################################
captive_portal:

#############################################
# Web Portal for display and monitoring
#############################################
web_server:
  port: 80
  auth:
    username: !secret web_server_username
    password: !secret web_server_password

#############################################
# MQTT Monitoring
#############################################
mqtt:
  broker: !secret mqtt_server
  topic_prefix: esphome/esp-netcupfan2
  username: !secret mqtt_username
  password: !secret mqtt_password

#############################################
#############################################
# MAIN SENSORS
#############################################
#############################################

# Relay Output on a GPIO Pin
switch:
  - platform: gpio
    name: "Relay_Main"
    pin: GPIO15

# Allows a fan control point in Home Assistant
fan:
  - platform: speed
    output: pwm_output
    name: "Net Cupboard Fan 2 Speed"
    speed_count: 500

# PWM Fan Output on the GPIO Pin
output:
  - platform: esp8266_pwm
    pin: GPIO16
    frequency: 25000 Hz
    id: pwm_output
Links
https://community.home-assistant.io/t/pwm-controlled-fan-with-esphome-on-esp32/134113/20
https://community.home-assistant.io/t/control-a-noctua-12v-fan-wirelessly/95559
https://tasmota.github.io/docs/PCA9685/
EspEasy implementation as a 3rd alternative https://www.letscontrolit.com/wiki/index.php/GPIO
A useful board with a MOSFET https://www.esphome-devices.com/devices/Sinilink-XY-VFMS