Smartphone screen protector UV cured
I have had various phone screen protectors over the years, floppy and solid and preferred the solid glass cover I had on on my Note 8 for over a year I paid NZ$30+ for the last one including install by someone at a ‘phone shop’ but really it wasn’t a nice install, and I re-seated it not long to try and remove some bubbles so paying for install was a waste of time. Also, the glass screen got progressively more cracked over the year (mainly around the edges) so looked pretty bad and a few bits of glass would occasionally fall off.
I decided to get a new cover back in May, and didn’t really look too hard… just looked on Aliexpress for something that would fit my phone, had a large number of purchases previously and was cheap. The phone is a not model with curved edges, which makes decent covers harder to find.
I ended up with this one:
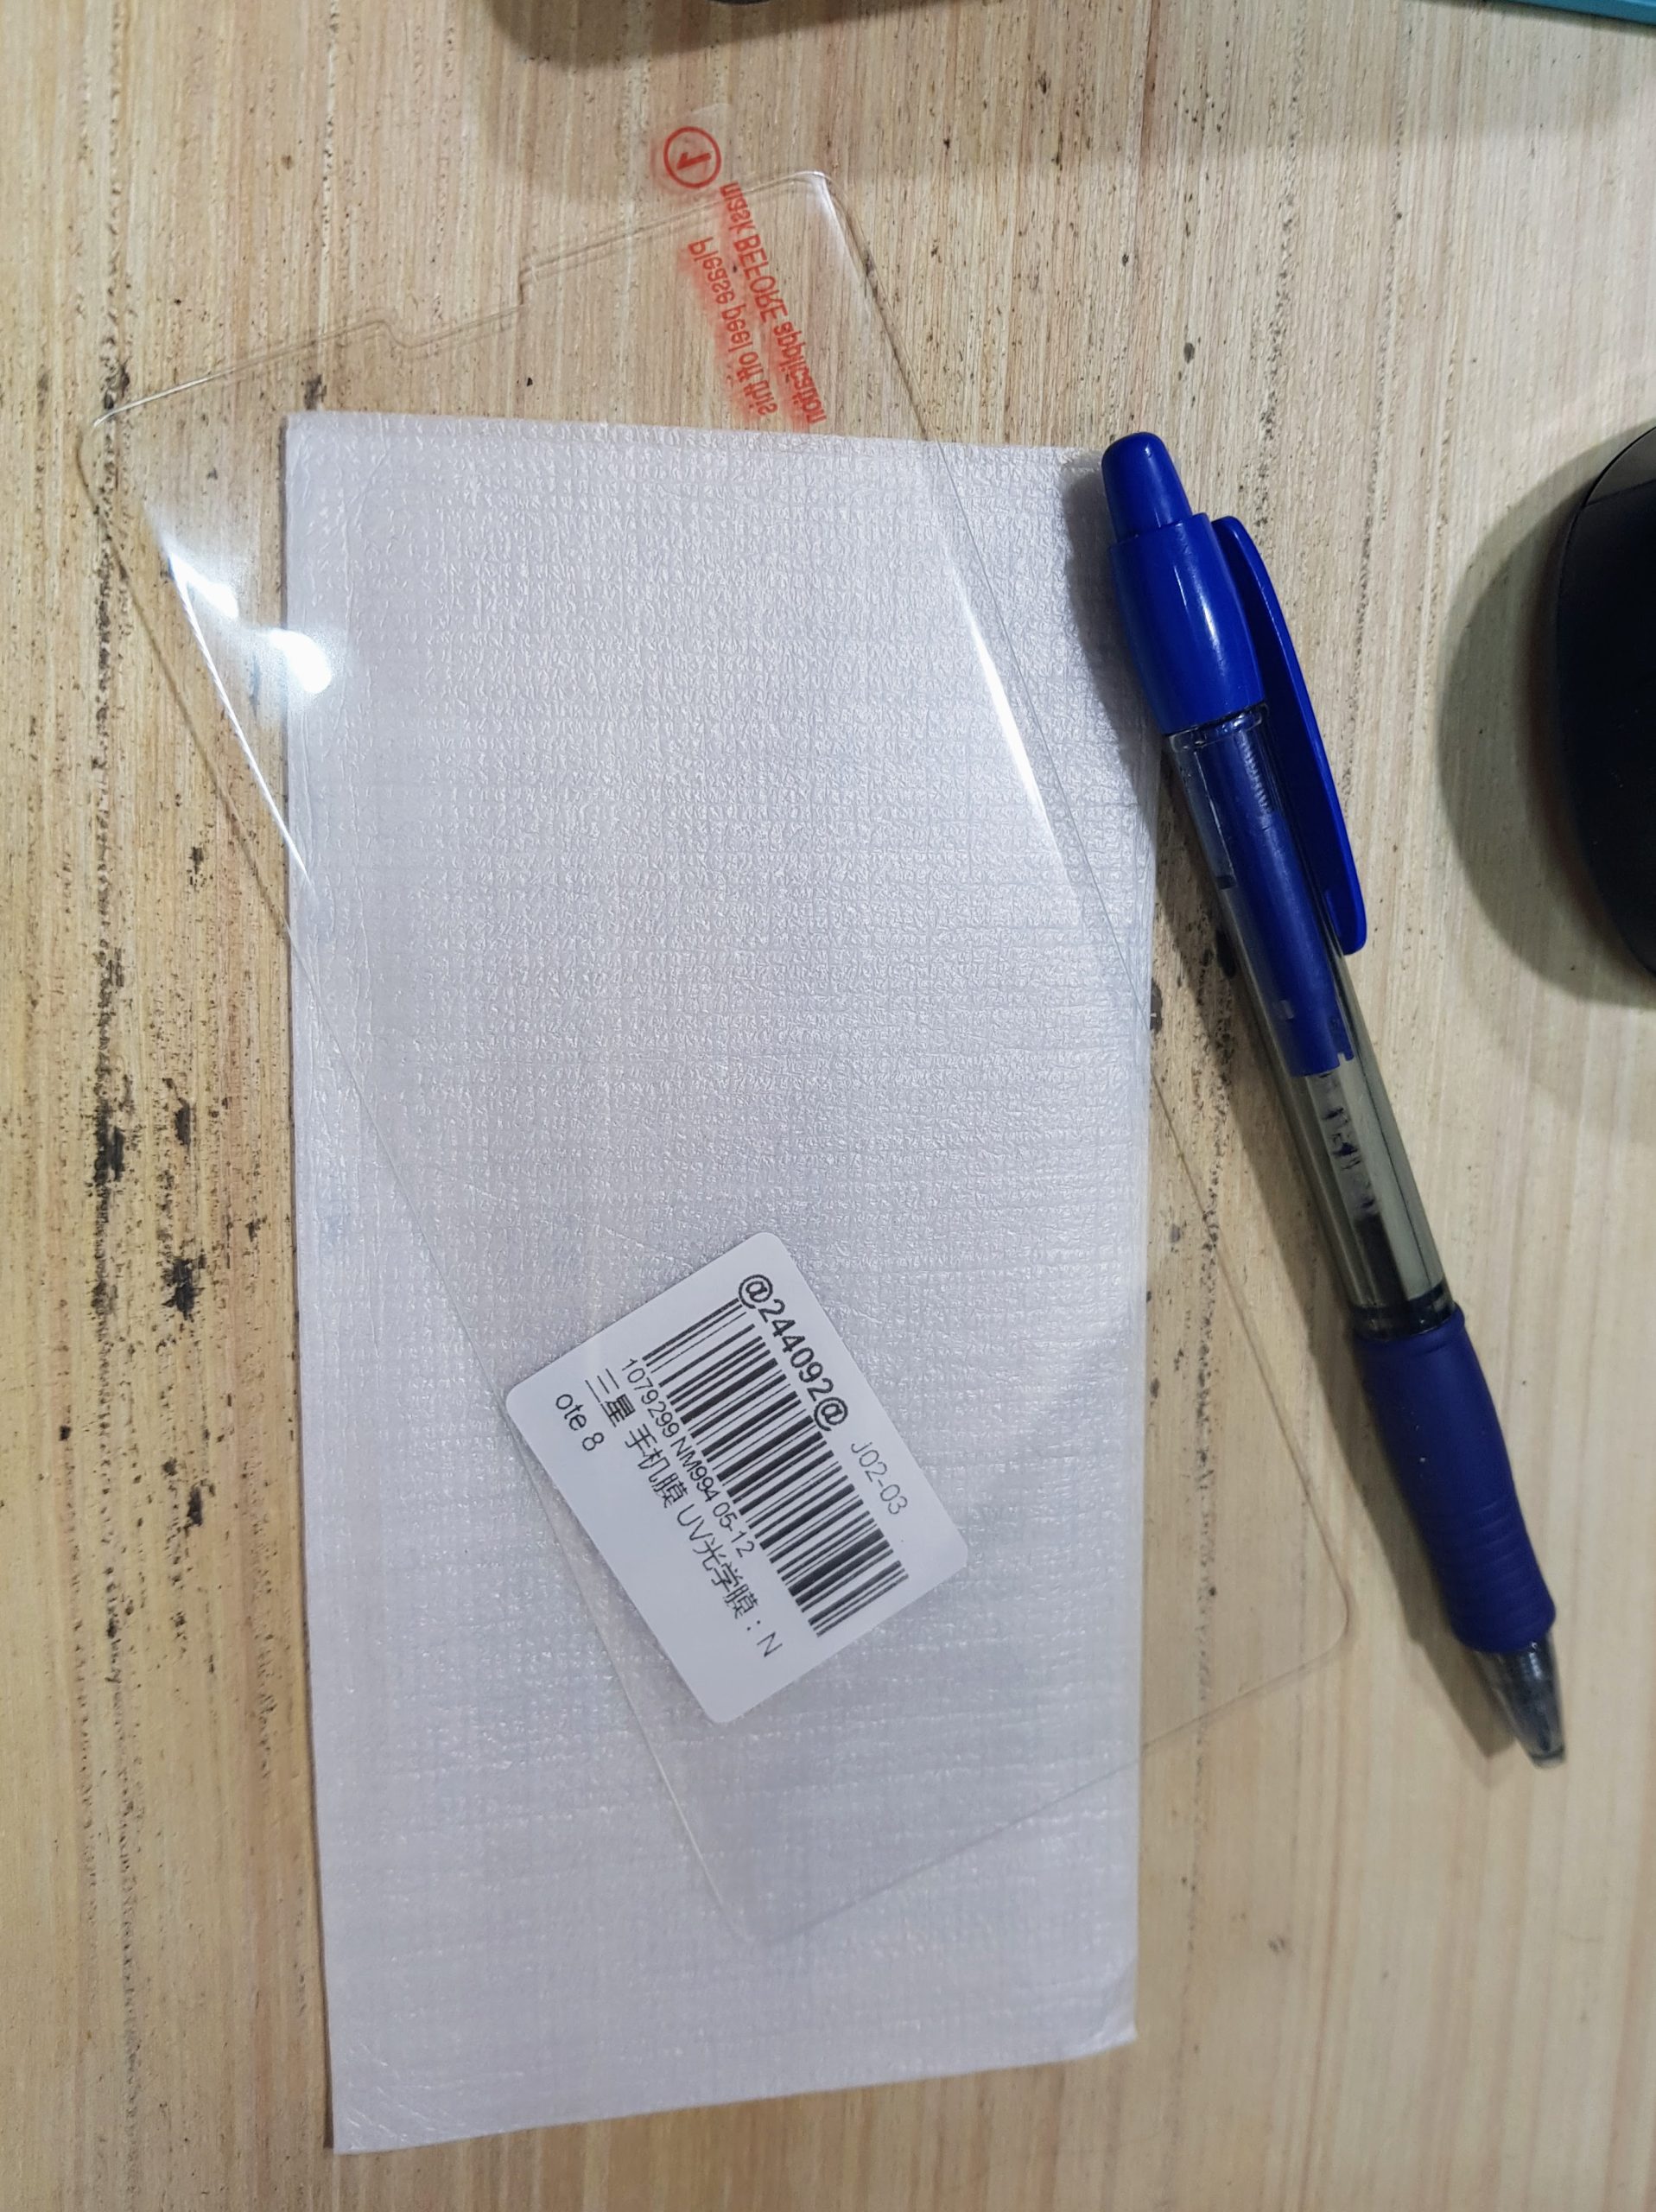
100D UV Tempered Glass For Samsung Galaxy S20 S10 S9 S8 Plus Full Cover Liquid Screen Protector Samsung Note 10 8 9 Lens Camera
https://www.aliexpress.com/item/4000926233404
from VOULAO Bupuda Store.
2 screens worked out at just around NZ$10 with shipping. I probably should have chosen a better shipping method as it took almost exactly 3 months (but some of that was obviously Covid related). The box it arrived in was an well oversized polystyrene one – not very sustainable, but certainly wasn’t going to break in shipping.
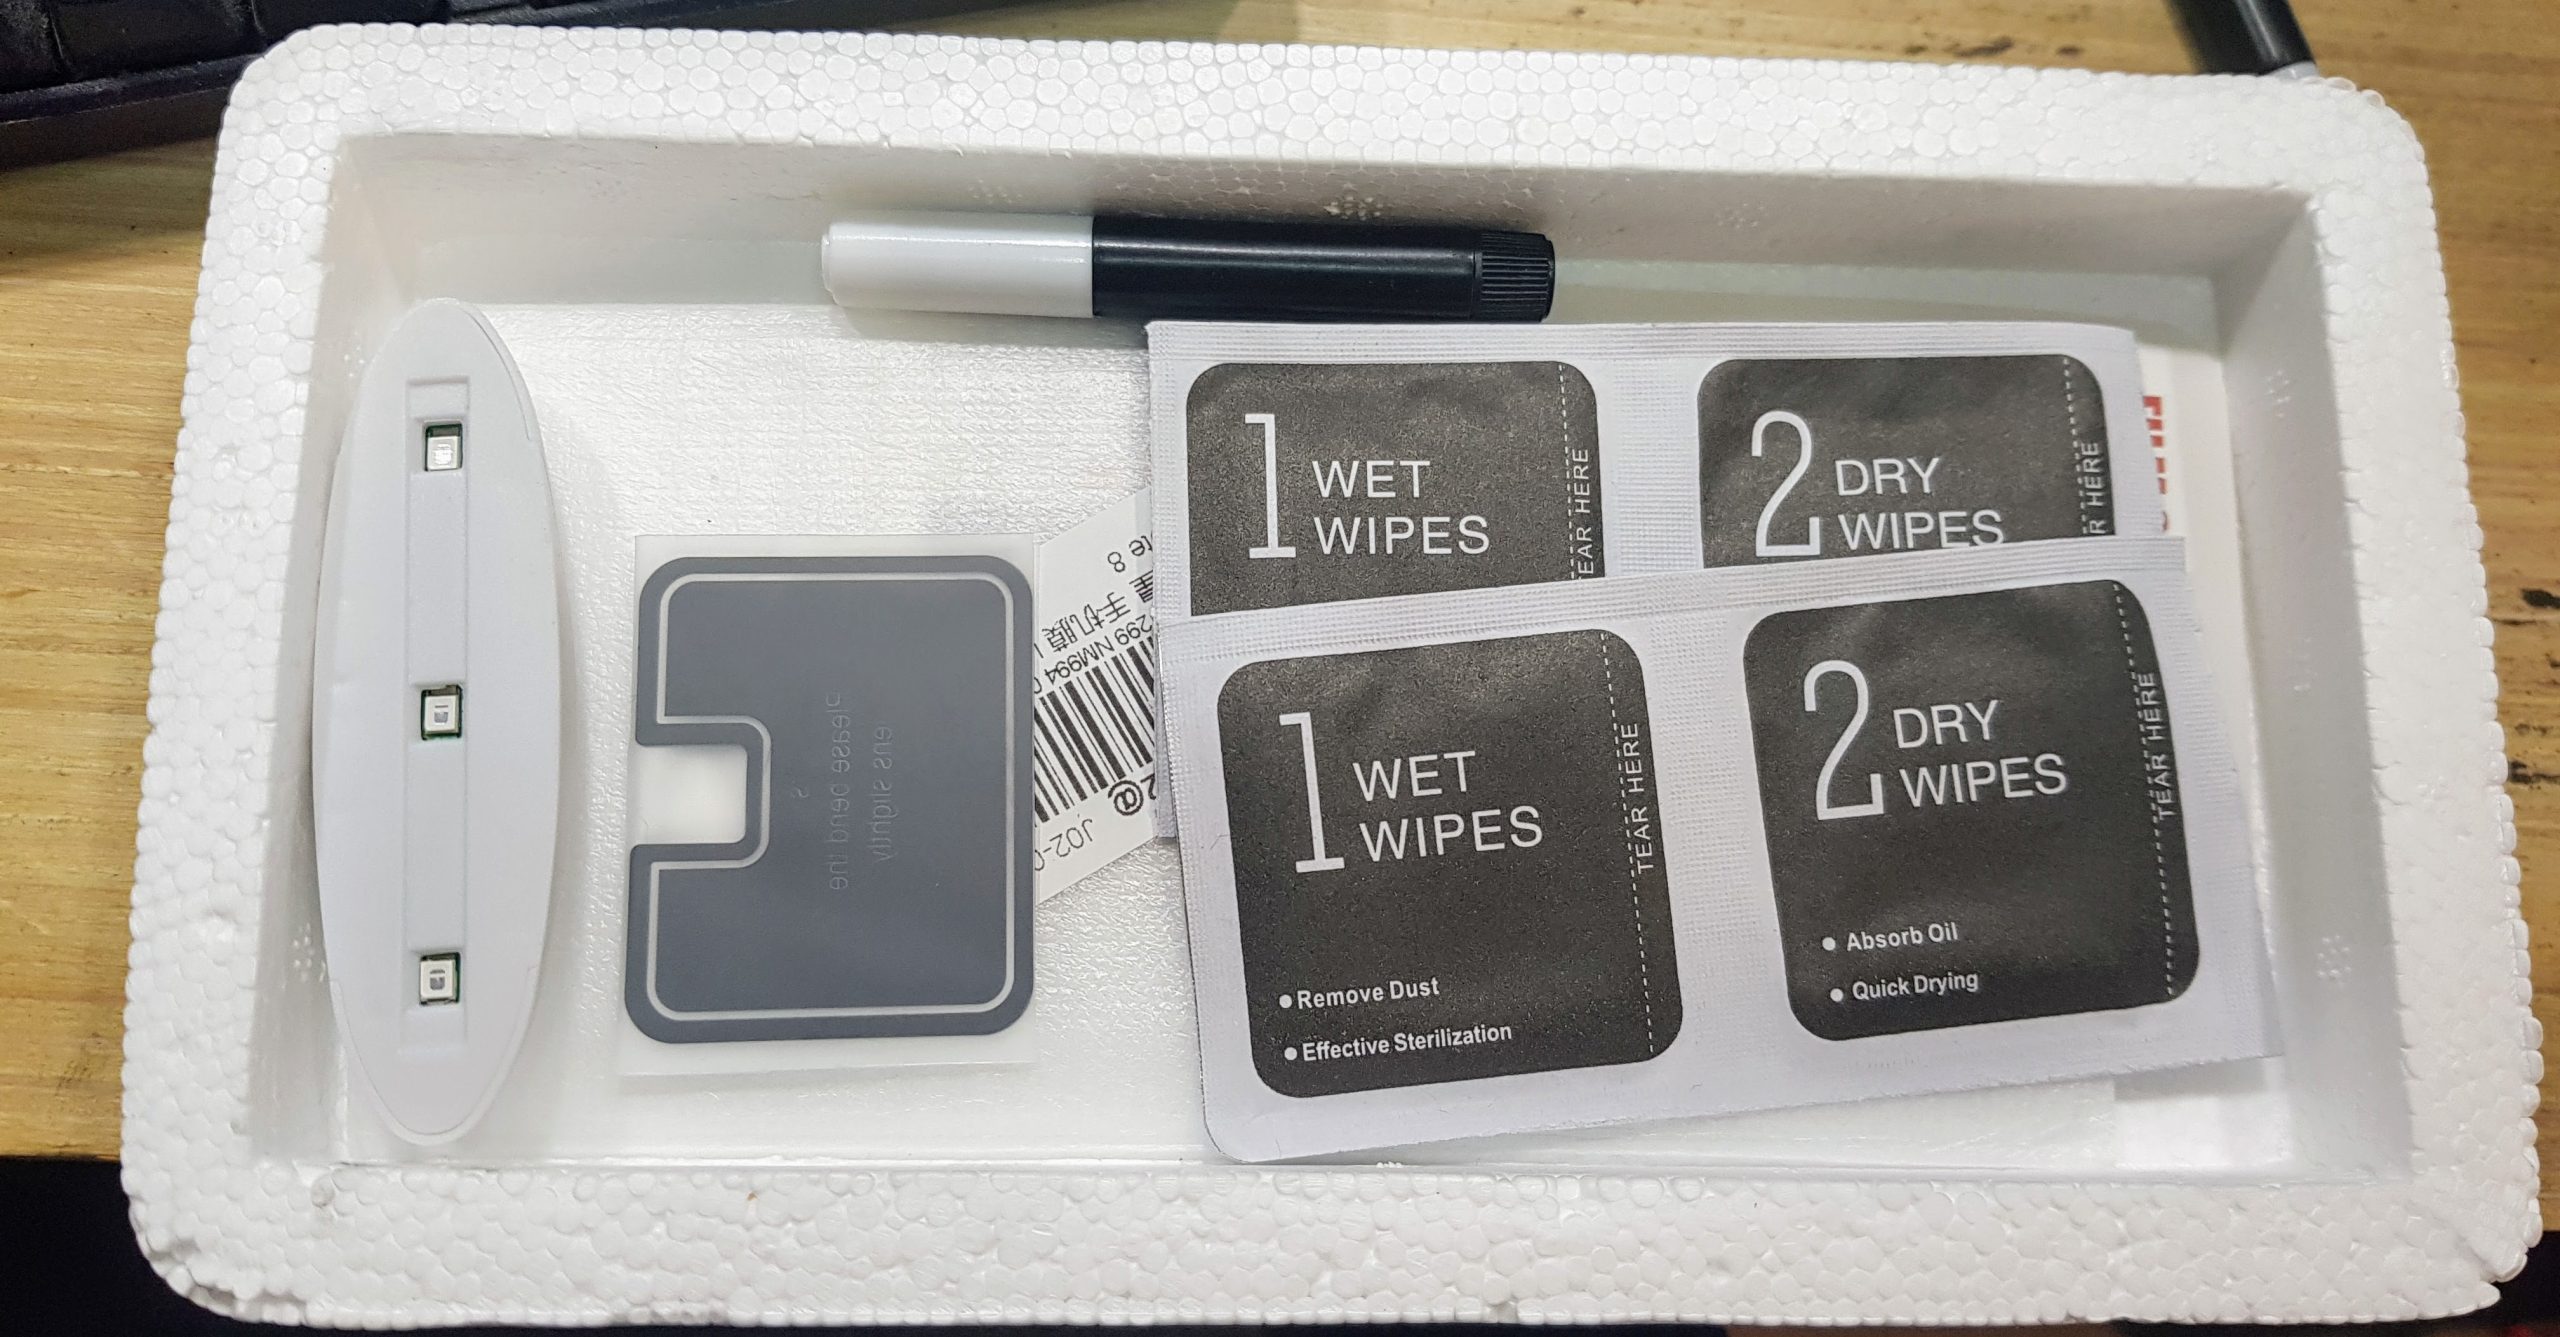
I really had no idea about the type of cover it was until it turned up. Turns out it is plastic cover, that uses a very thin glue that is UV cured. They send all the parts, which even includes a little block with UV LEDs in it.
Install
Instruction are very basic, so I suggest you look though a few YouTube videos too just to be sure. Here is a good one, https://www.youtube.com/watch?v=xGHZZ5Cjcc0
My screen cover is similar but probably slightly less flexible than the one they show here. Here is another https://www.youtube.com/watch?v=as6svInp8DU , and I think I’d probably use the technique of applying a line of glue next time.
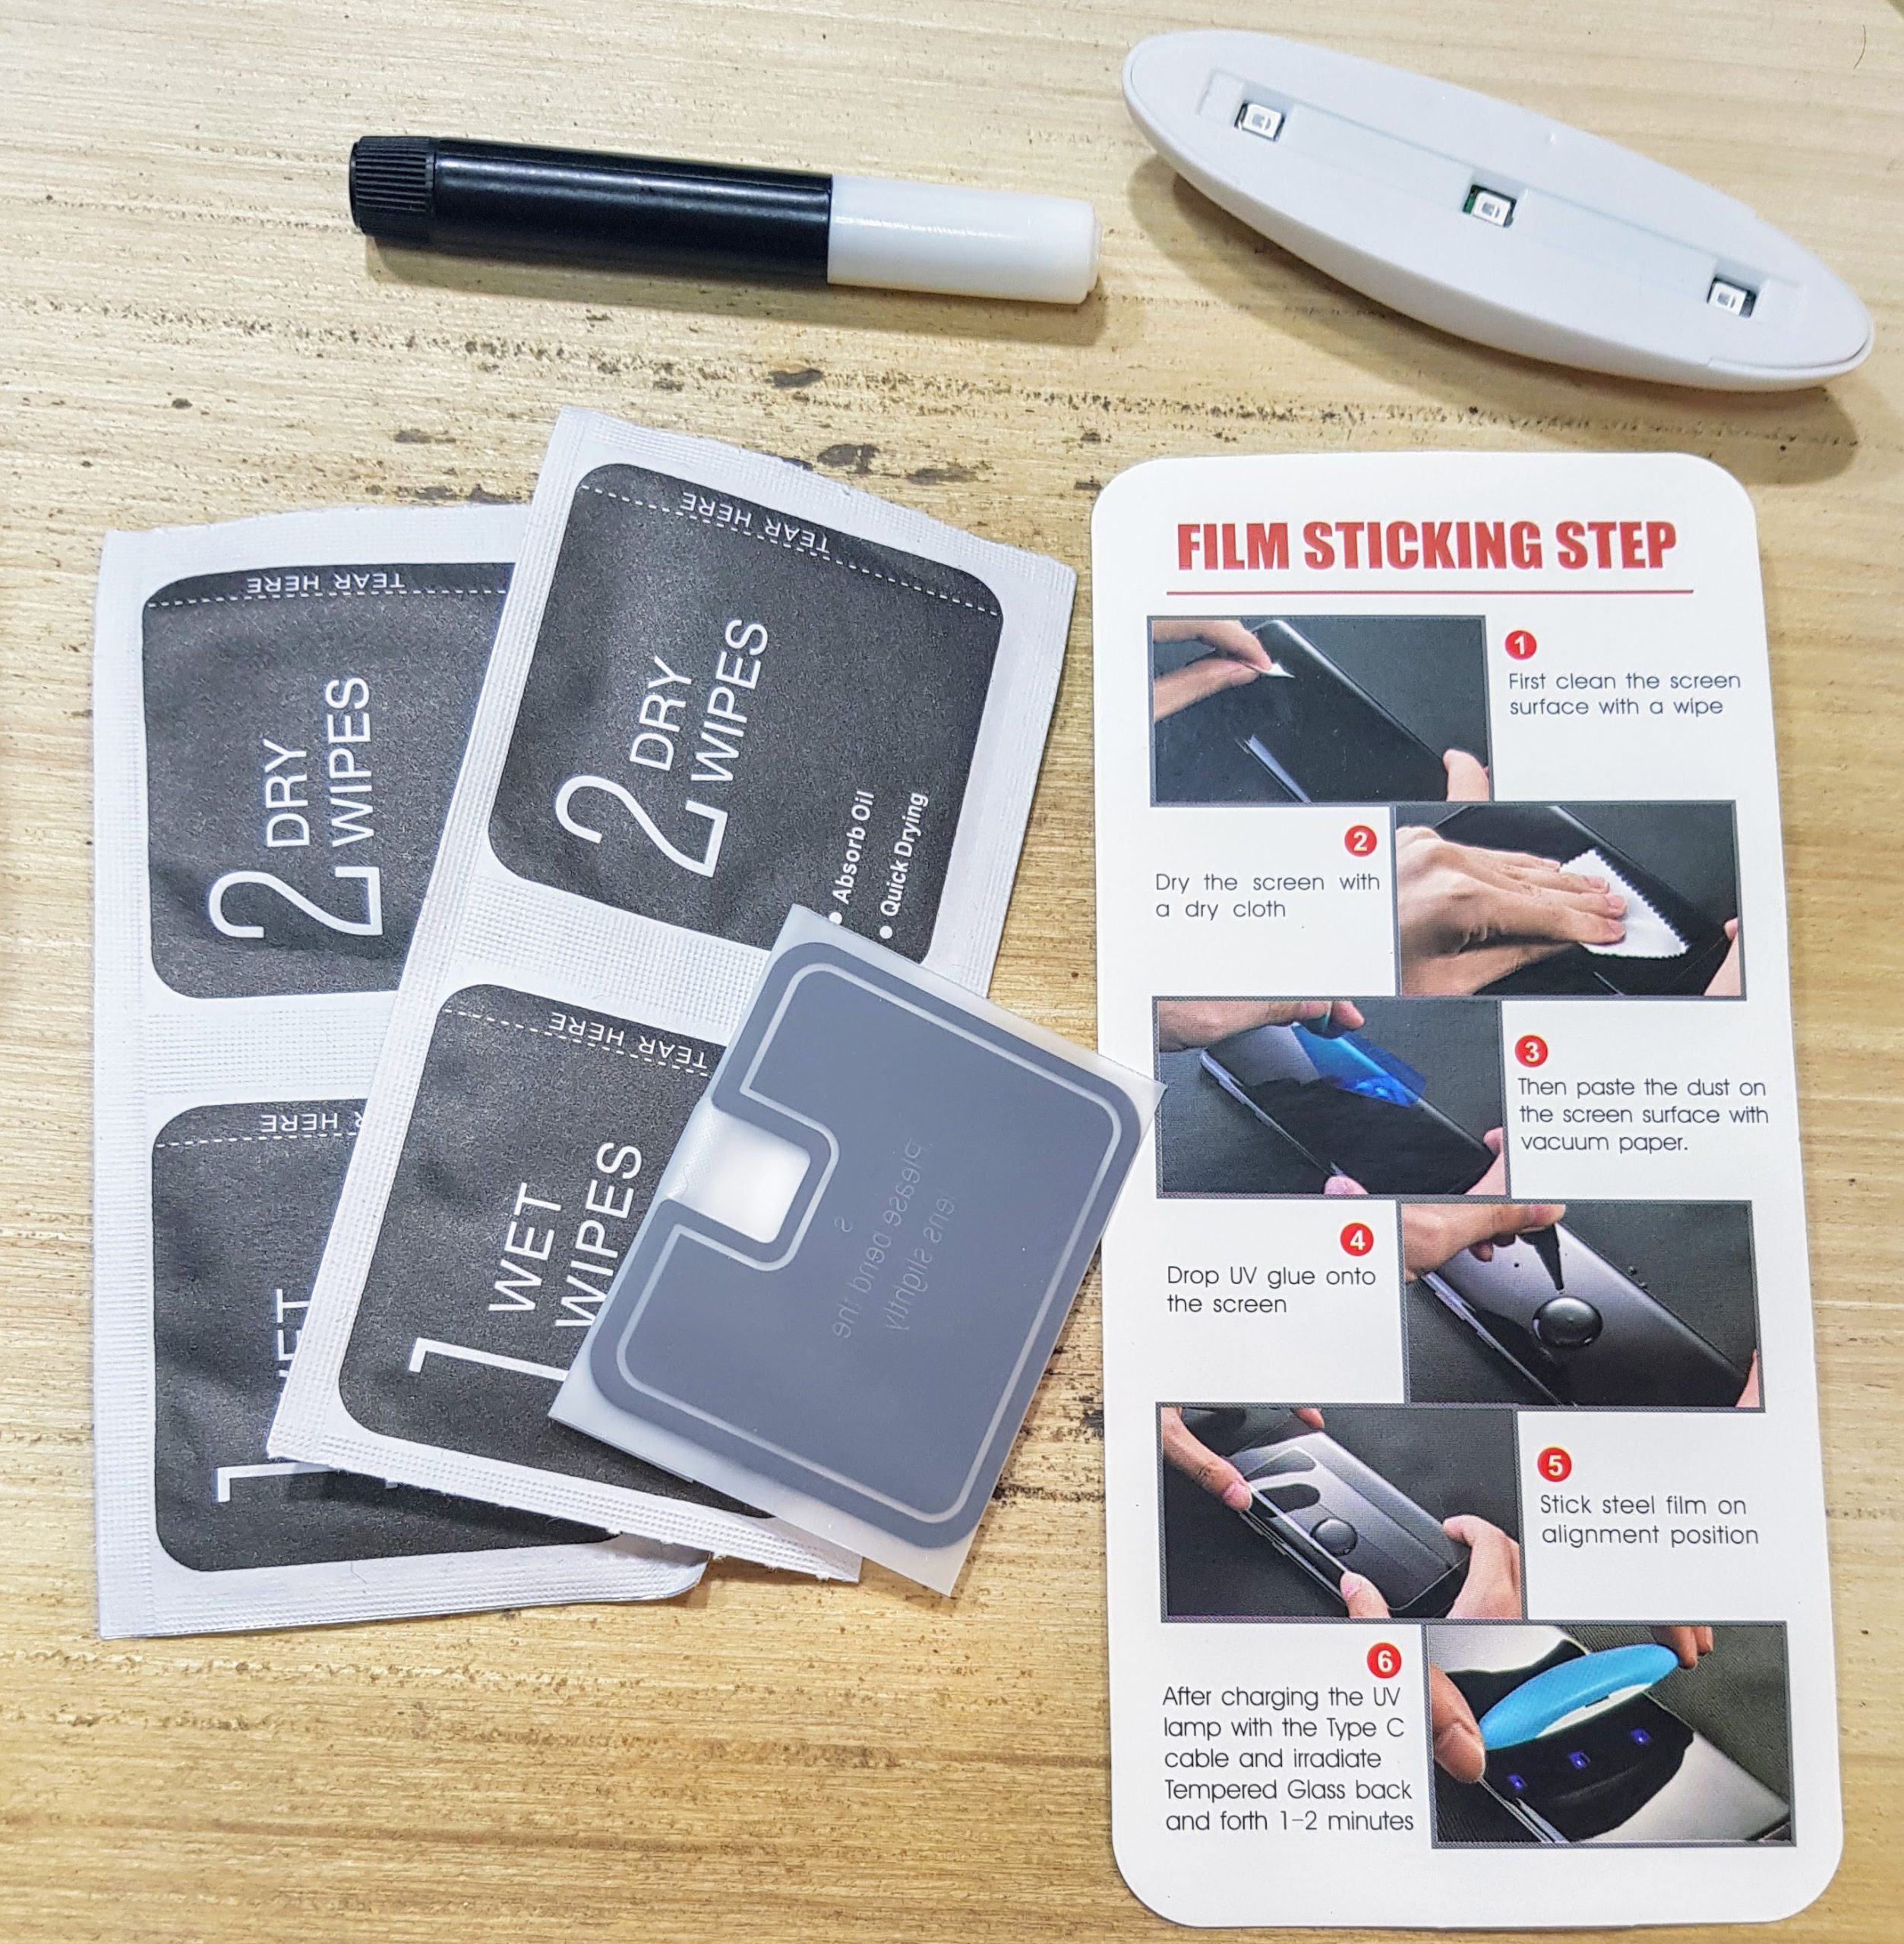
Like most installs, you use the wet wipe (1) to clean, dry fibre wipe (2) to dry, then a sticky piece (vacuum paper) to pick up remaining dust. The kit didn’t actually come with vacuum paper… what I though was a vacuum paper thing turned out to be a plastic sticker for the camera/fingerprint array on the back (And I don’t like covering the camera at all)
I thought applied too much glue… but most videos show to use it all and I didn’t. The glue is very runny and the most important thing was not to get it in the speaker hole at the top (I may have failed somewhat there – but it seems to be ok now). I definitely would put something like a sticker or tape over that to protect it if I did it again. A review of other YouTube videos show some kits come with a sticker or two for this reason. A regular paper towel dab soaked up excess at the top and sides.
UV LEDs
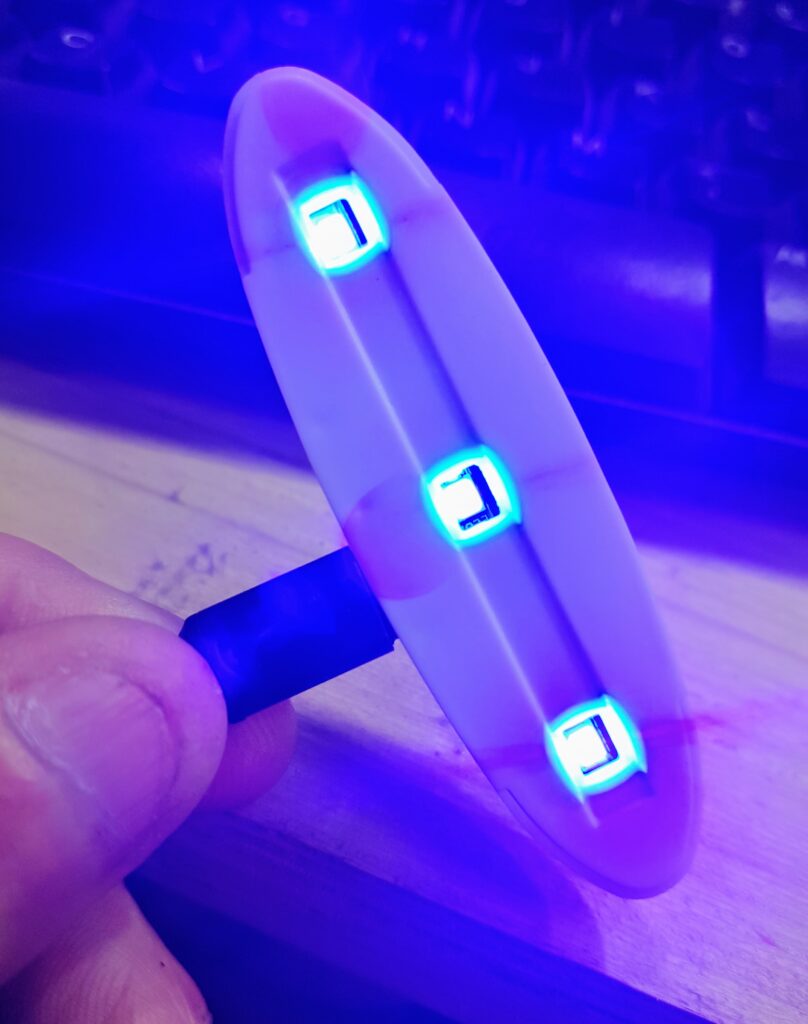
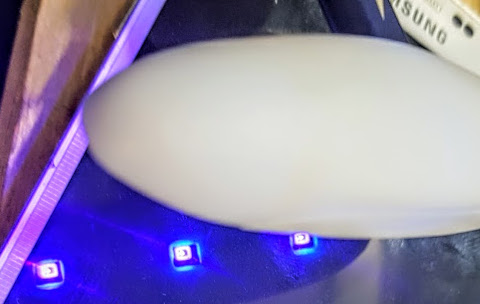
The small UV block worked fine, you do have to move it around for a decent time to get a solid cure whilst applying some pressure to squeeze out all the bubbles. I do have other more powerful UV sources, so that may have been a good idea. Actually, if I used more glue, pressure would probably not be needed at all.
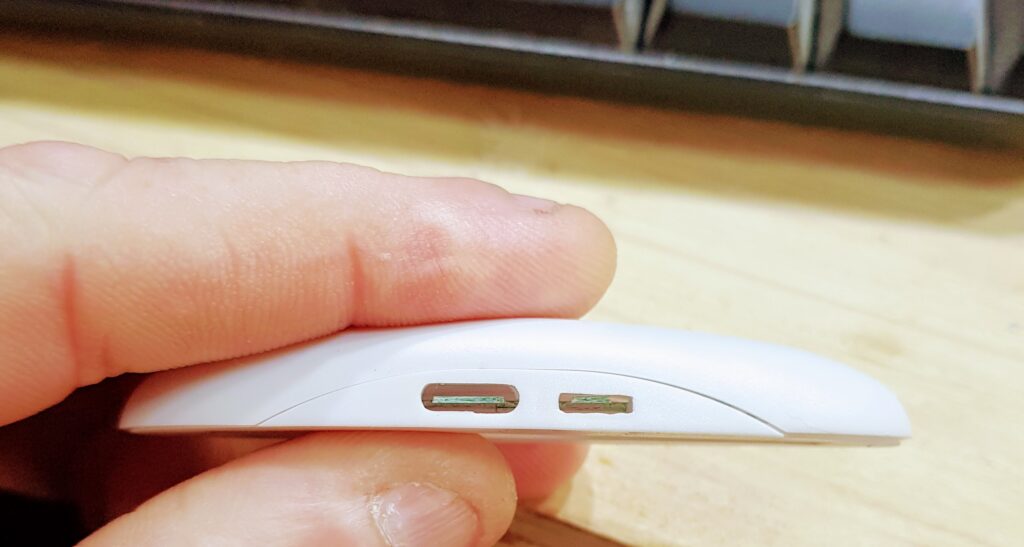
The small block is powered by USB-C. It also looks to have another USB slot, but build quality is pretty basic the internal board doesn’t seem to align. Not large enough for micro USB… lighting connector? Fits (just) but didn’t work for me (see photos of this). Some feedback on the supplier page is that occasionally only 2 out of 3 LEDs work on arrival.
Future Removal
Another worry for me was the strength of the glue with future removal and what it may leave behind. The simple instructions doesn’t mention this. Youtube was help here, and there are a couple of videos showing how to remove these, and that the glue doesn’t appear to stick to the glass long term at all.
eg https://www.youtube.com/watch?v=yExbLbibFY8, https://www.youtube.com/watch?v=Z70dqq6kcF0 and https://www.youtube.com/watch?v=xGHZZ5Cjcc0
Result
Result wasn’t completely bubble free, but pretty close. If I did it again I think a near perfect install would be easy. My speaker wasn’t very loud to begin with so I thought I’d killed it, but it came right.
I’m pretty impressed overall, there is no issue with daily operation (touch screen etc) and I’m fascinated with the process…. this is the type of cover I’d recommend from now on. My phone doesn’t have a front fingerprint reader, so can’t comment on how that would perform. The front facing camera works better than before as my last cover just clipped the visible edge of the camera view causing some focus problems (awful once the cover started to break around the edges)
The supplier page says the product I bought has “Merkel Sulphur Reservoir”, is “More Explosion Proof” and “Shock is not Fragile” so obviously it must be great.


Footnote… it turns out that the other connector is actually for micro USB. The 2nd LED block I received (I bought 2 kits) was slightly better and I could connect up a micro USB connector with a little bit of coaxing. With the first one, it appears that the plastic housing is just too poorly made to get the connector in there.