NZ Retro Caravan Awning Guide

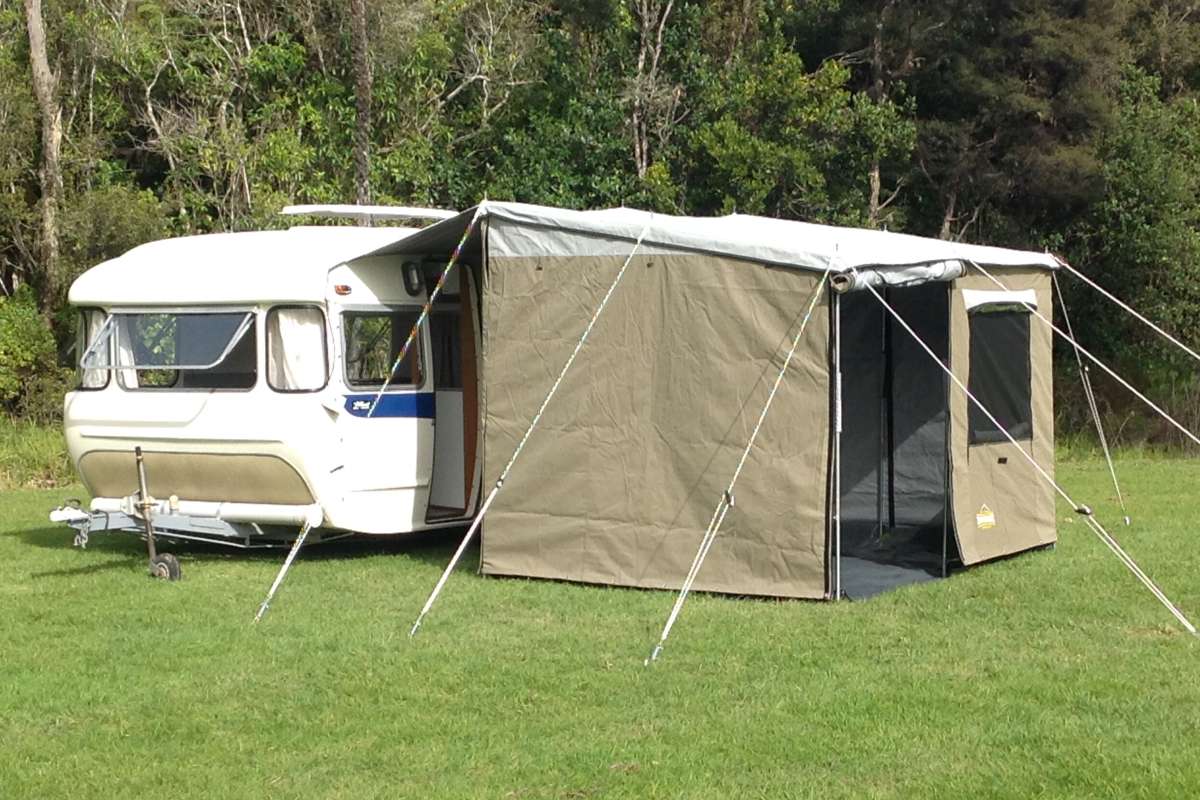
In 2016, we had a custom awning manufactured for our New Zealand made, 15″ 1965 Zephyr Deluxe caravan. A few people have asked about it, so I have documented a bit of the process.
Custom awnings certainly aren’t cheap, but if it is a caravan that you love and you plan to keep for a long time (and you actually camp with it rather than just dusting it off for shows) there is nothing better than a purpose made, high quality, retro looking annex.
Thanks to Canvasland, Levin for the great custom awning, and making it in record time to our picky requirements.
Alternatives
We actually spent more on this custom awning than the original price of the caravan (obviously the caravan has had a lot of upgrade work since), but what are the alternatives if you don’t want to spend the money?
- You could buy 2nd hand.
Sometimes awnings turn up on facebook caravan groups and, Trademe so if you can find one… great. No harm in asking in a group – just in case someone has one squirrelled away and are debating whether to sell it or not. Bear in mind though, all models of caravans are slightly different, so getting an exact fit is uncommon. You may be able to get an upholsterer to cut one down.. and in some cases even add some canvas strips to lengthen. None of this is simple though, and will cost (unless you are handy with an industrial sewing machine). Also remember, most canvas does degrade and rot over time, so you may not be able to find something robust for a 50 or 60 year old van. - You could get a “generic” (usually a “walkthough”)
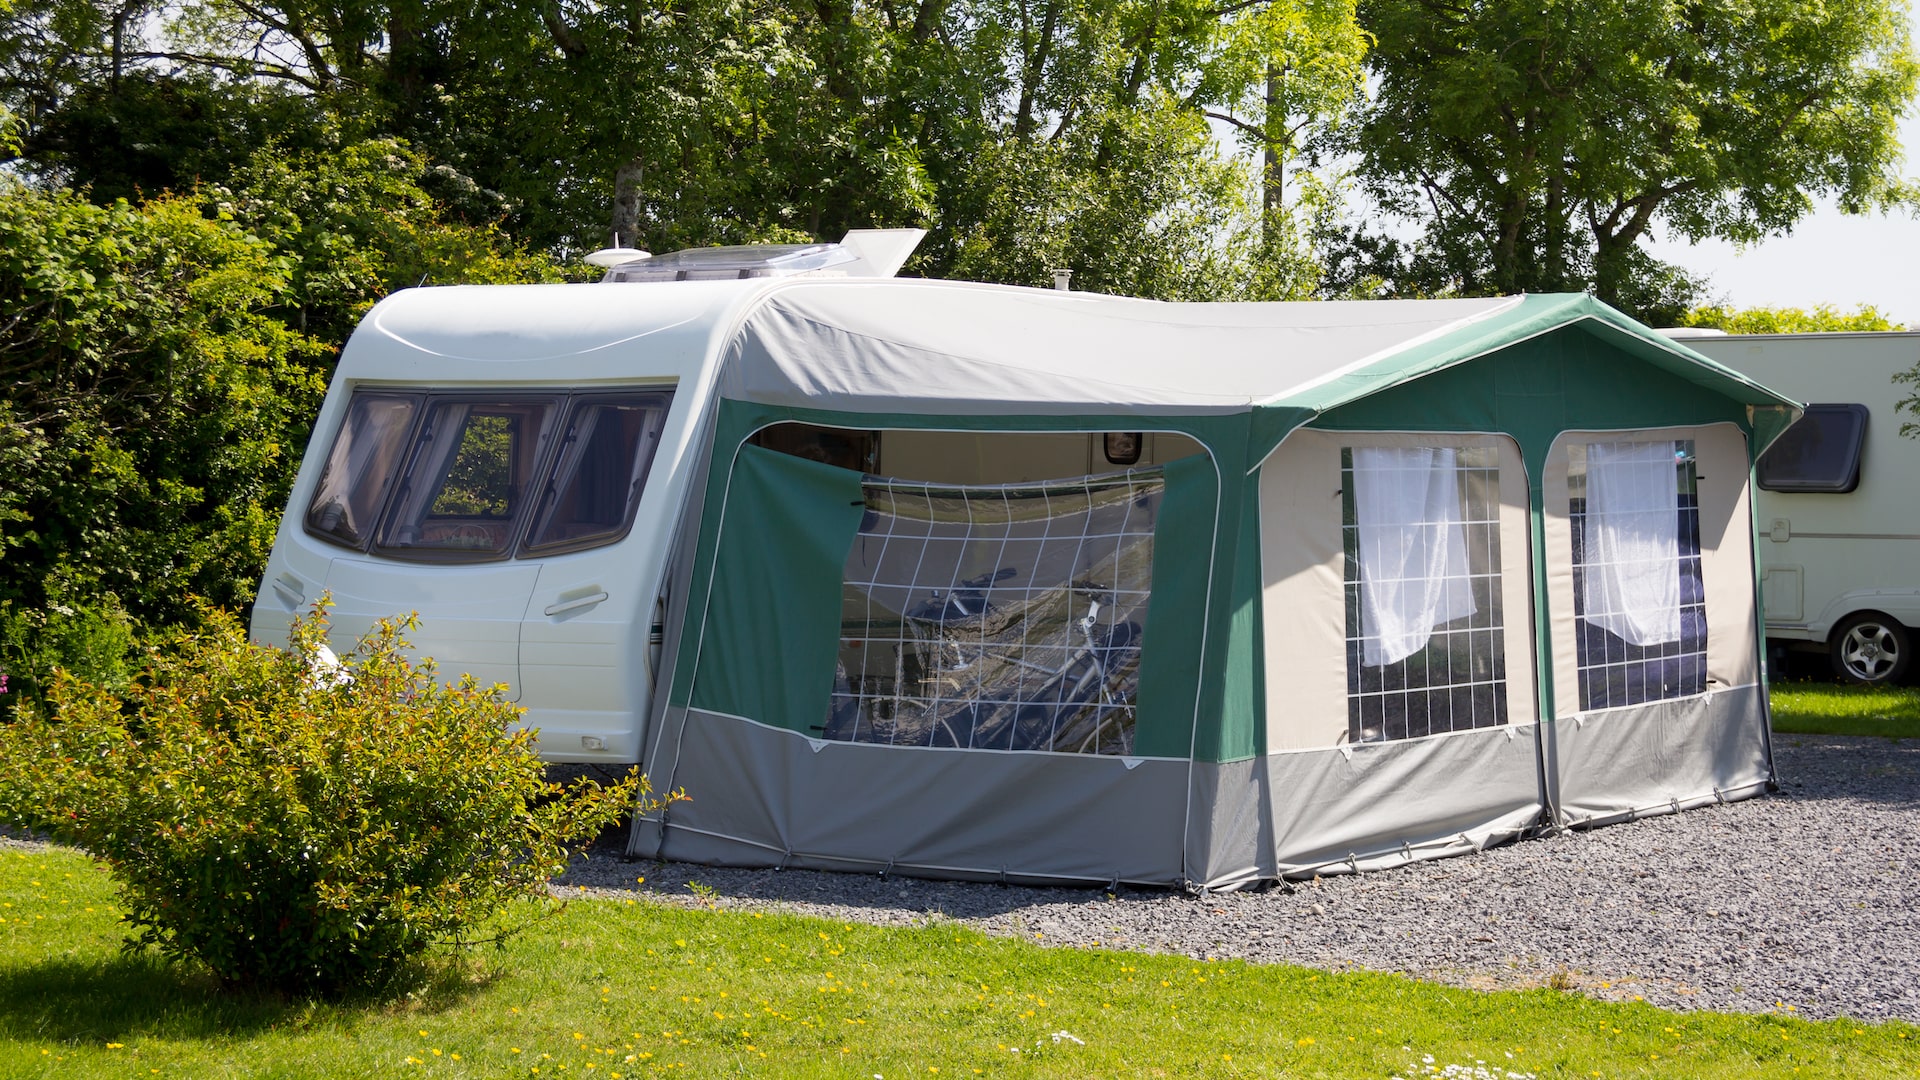
A couple of companies make generic caravan awnings, that are walkthough style. This is essentially a rectangular tent, but with a 1 metre wide flap along one side that will allow enough length to slide into most caravan rails. The beauty of this is that you get a covered awning right to the door, but you will end up with 2 separate rooms (you can’t leave the caravan door open, like you can in a proper awning). Walkthoughs fit most…and care less about the shape of the side of your caravan – as long as you can find one the right length (not too long). Generics usually come in a couple of colours… grey or green. Although there might be others, I’ve never seen them. Also, the canvas is more ‘tent like’ than solid heavy canvas (which also means it is lighter and more compact to pack up). - English style
English style awnings are again more like tents (in this case internal framed), but you can put them beside your caravan. I’ve seen them on retros, but they look decidedly odd in my opinion. Not sure how the waterproofing between the van and tent works. These also come as inflatable models. - Sun or shade awning
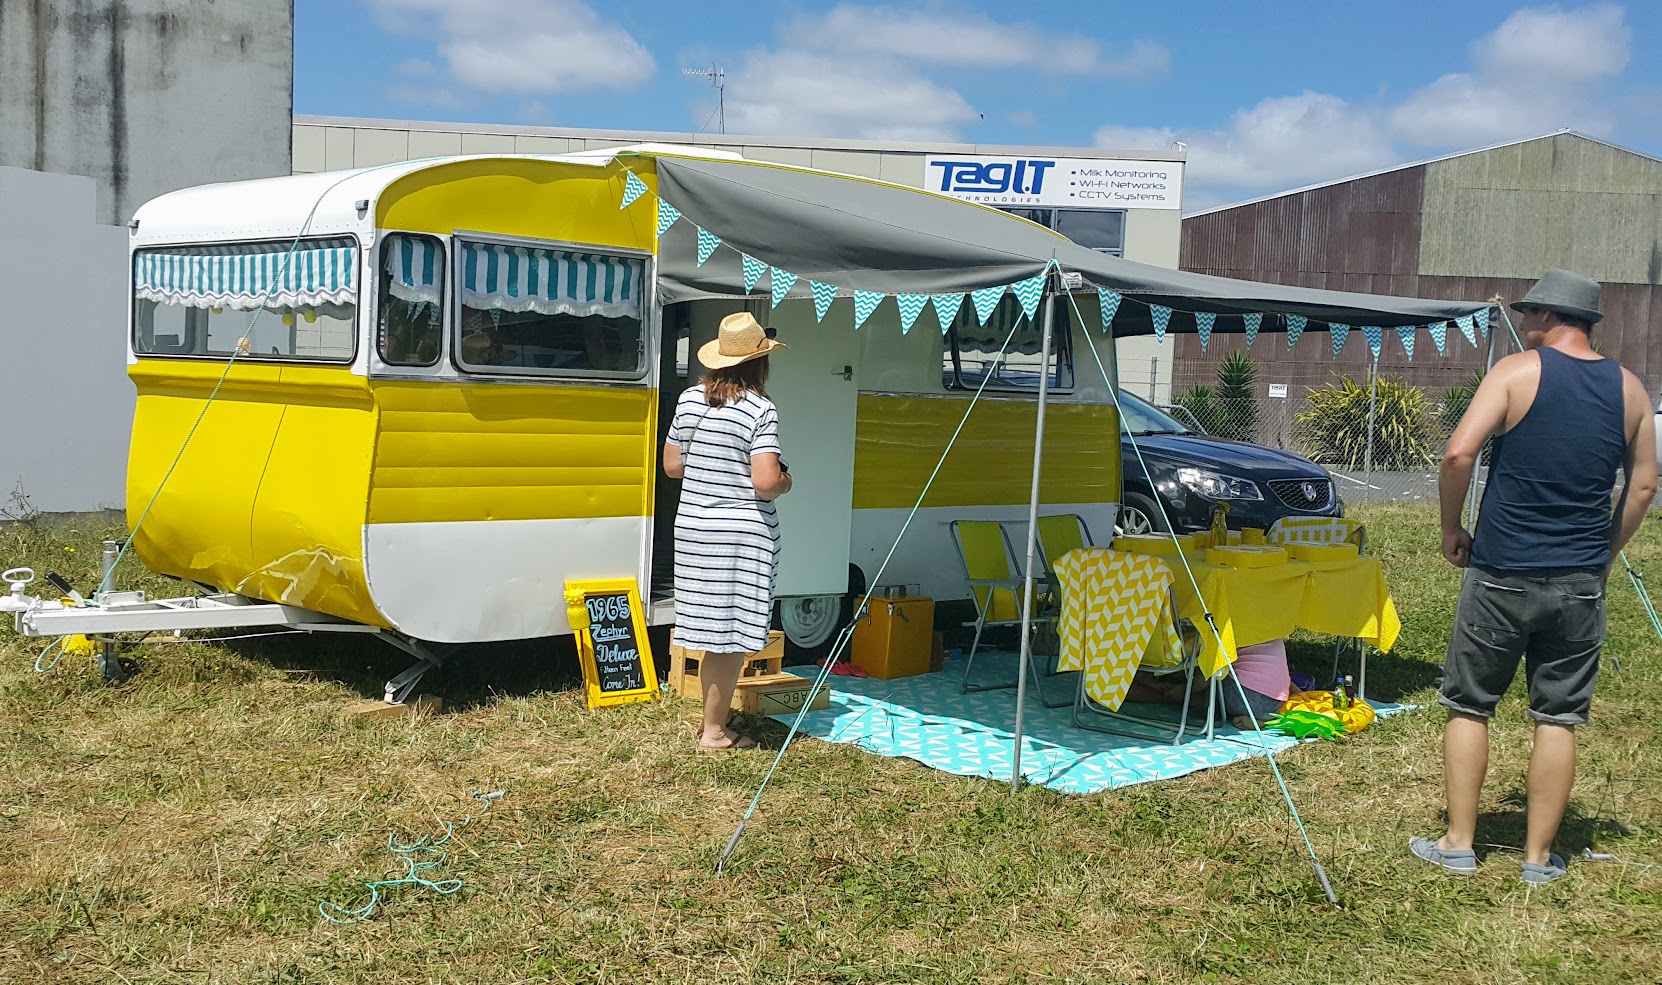
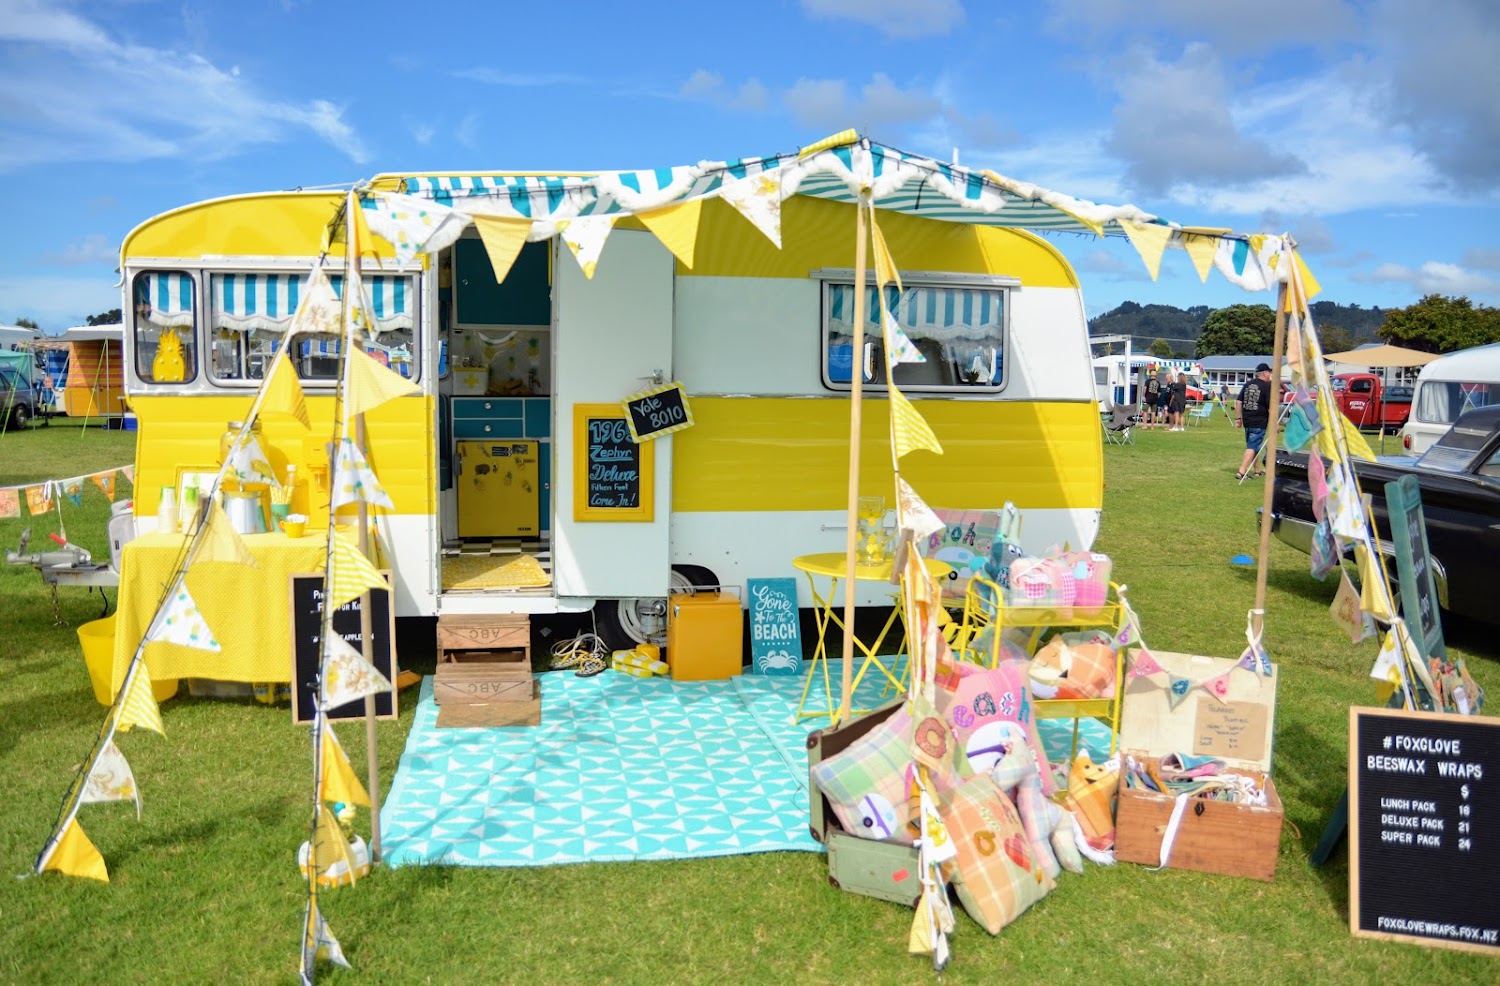
If you don’t need a full awning with sides, a bunch of people make funky shade style awning our of retro sun-resistant (and sometimes waterproof) fabric. (I can recommend Lynnette, from inside and out upholstery) They can easily be made to match your caravan, and go up in minutes. We made our own one (see photo at the end) which we use for shows and when we are just parking up for a day. Another advantage is that you can make a shade awning as wide as you like (with enough poles), eg wider than the standard 2.1m or 2.4m.
You can also get plenty of generic grey or green shade awnings pretty cheaply, including roll out annexes, and ‘porch awnings’ which essentially a shade awning that comes all the way down at the side furthest from the caravan. - A tent
Find a tent, preferable an old pole tent that some scout troop is getting rid of and just put it up beside your van. You get the advantage of more room, and low cost. Bonus points if you find one with colourful old retro style canvas.


Awning rail/track
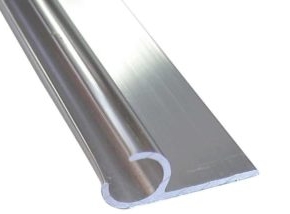
Before getting an awning, you’ll need to make sure there is some “awning rail” installed along the top of the door side (left in NZ) of the caravan. Most NZ made Caravans would have had this from factory, but it is worth checking it is still useable and hasn’t been crushed or damaged.
There is an “Awning recovery or repair tool” available from various places to ‘uncrush’ these (you slot it in and bump along with a rubber mallet). New rail can be purchased pretty easily (usually in 2m lengths).
It is the rail that you need to slide the awning onto the caravan, and make a tight enough water resistant seal. One side of the awning will have a rope sewn into the edge, which is pulled along the inside of this C shaped track (it needs to be the right dimensions so that it won’t pop out)
Standard NZ caravan track has a 10.5mm internal diameter, and 4.5mm slot. This will nicely hold in place an 8-10mm thick awning rope (with allowances for the fabric). Be aware that UK/European caravans and others often use a thinner 8.5mm track.
I’m told you can tap down a larger track slightly if really needed to hold in a smaller UK style awning (they usually use 6mm rope, plus fabric thickness), but I wouldn’t really recommend it.
Awning size
A skilled awning maker will need your caravan, on site, for the entire time they make your awning. They need to be sure of final height, all measurements, and will likely need to sort the domes for the skirt, and check the state of the track and other fixings.

Length
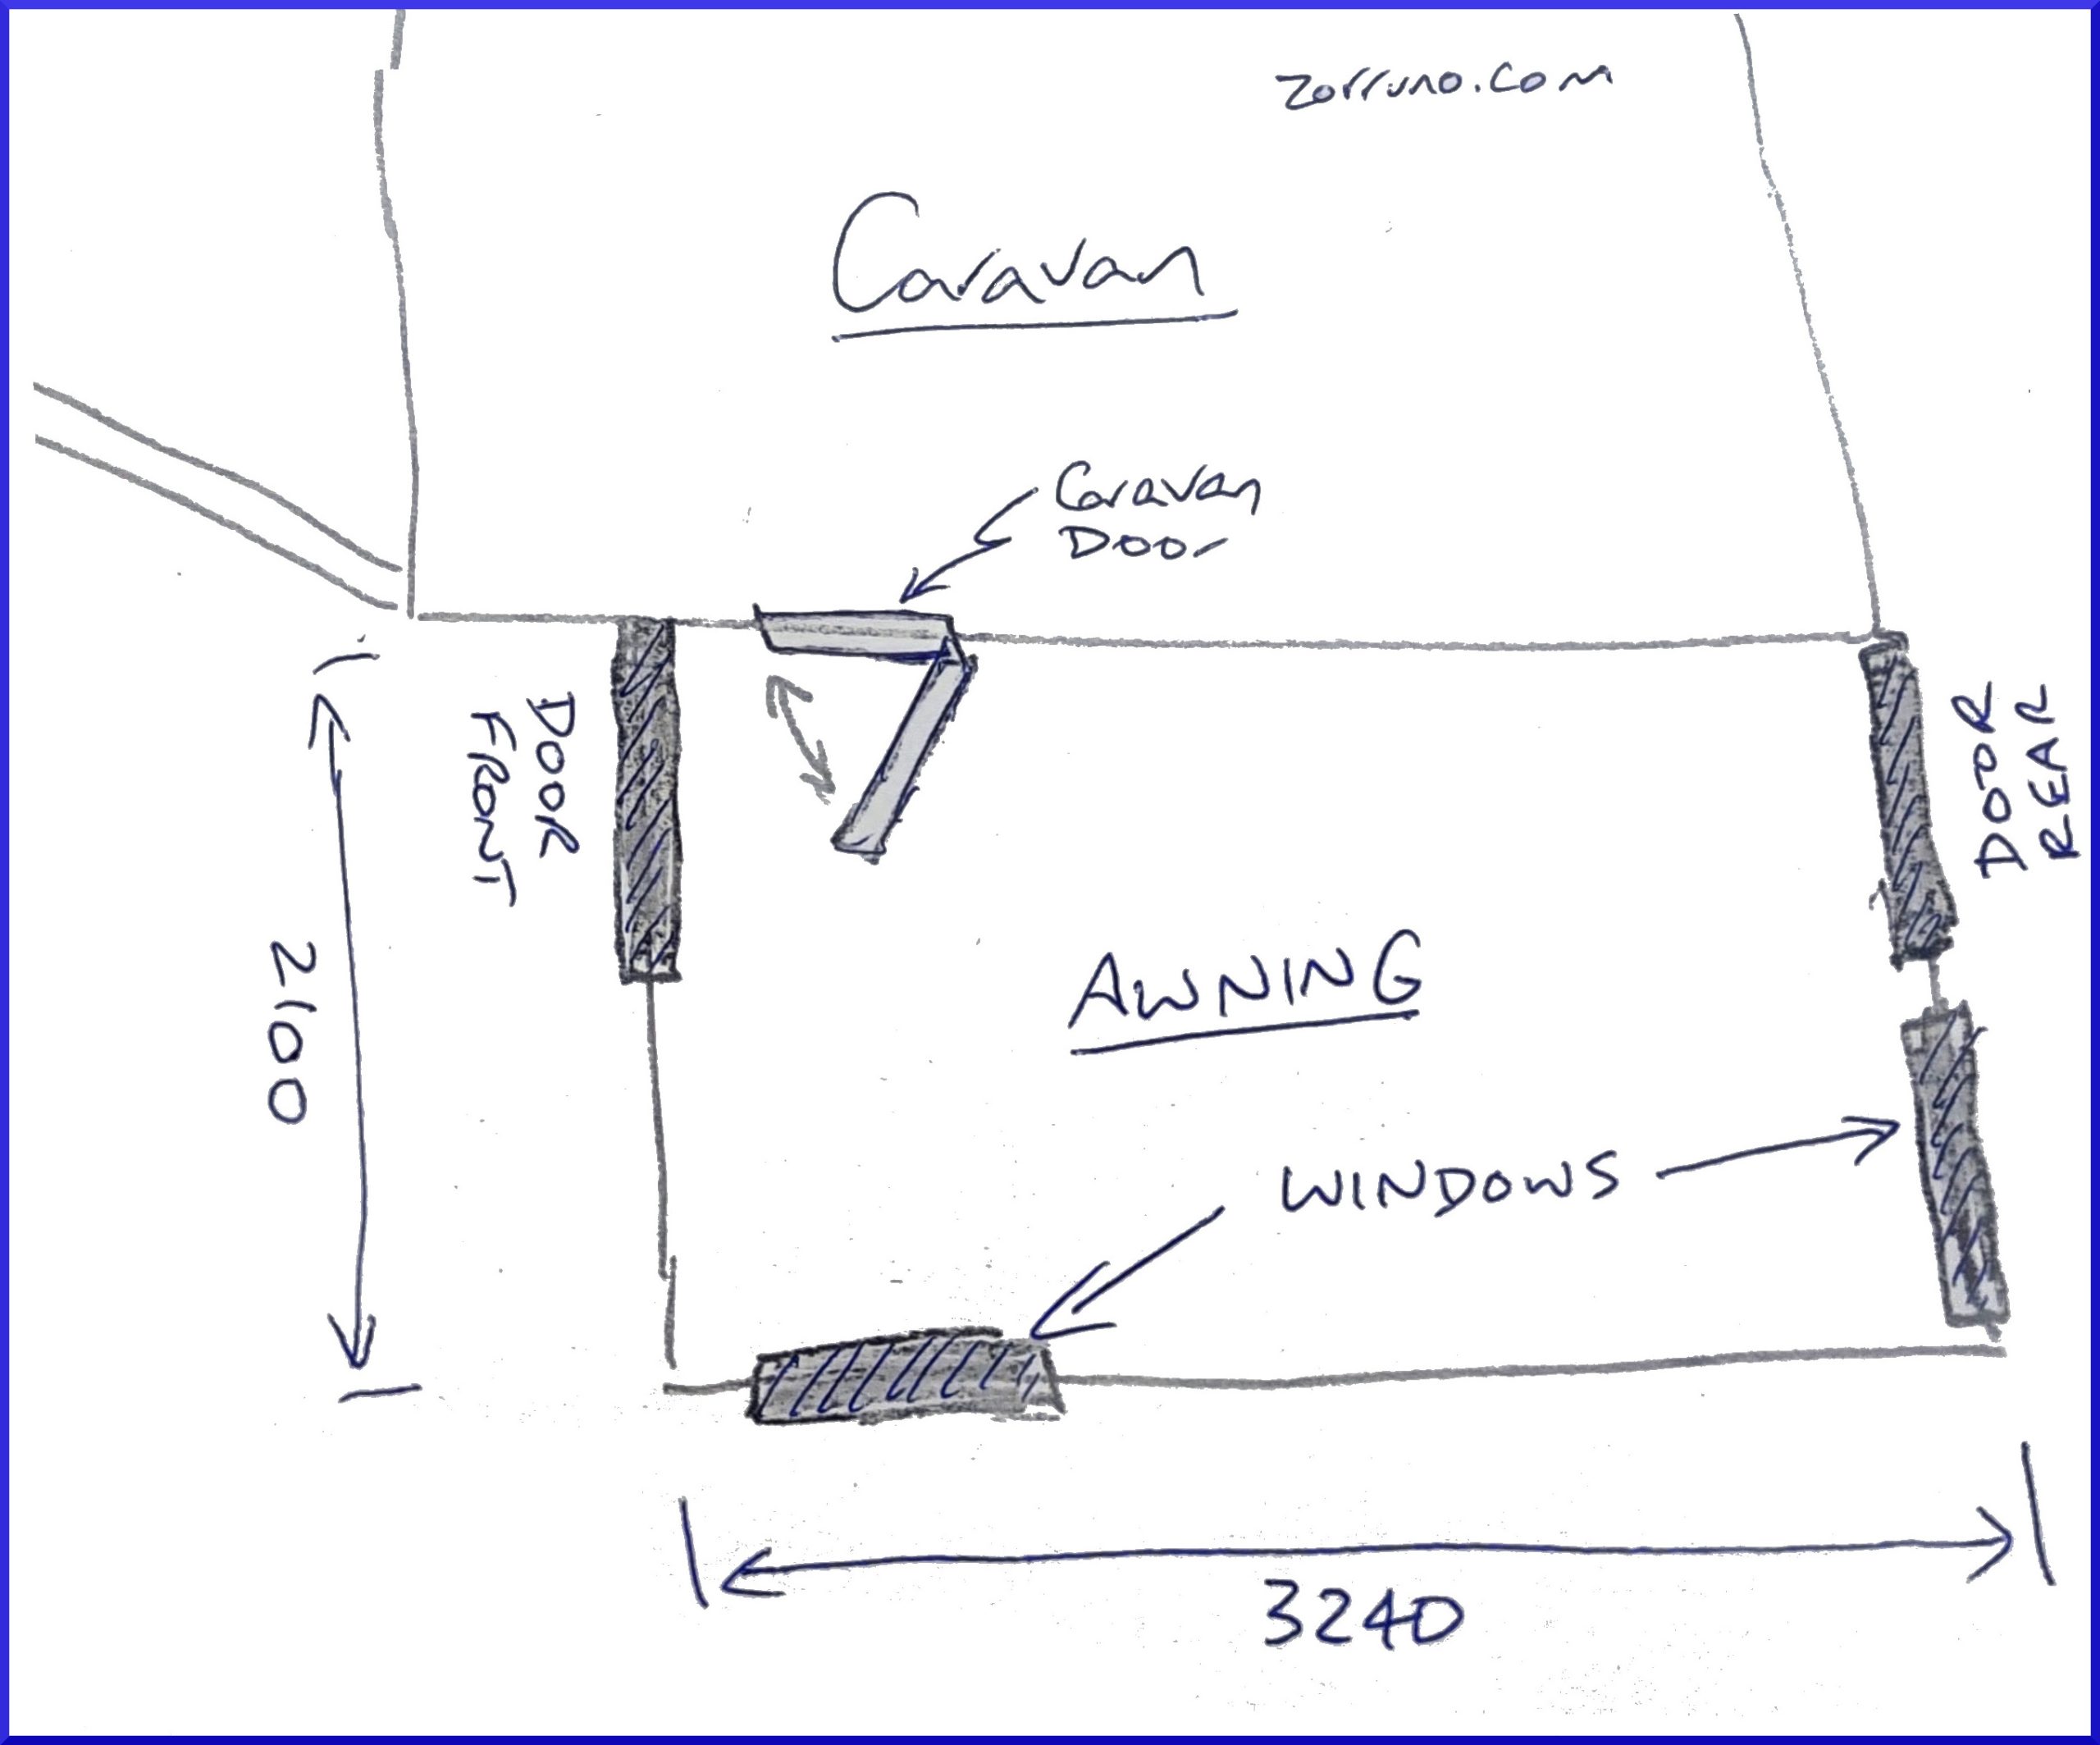
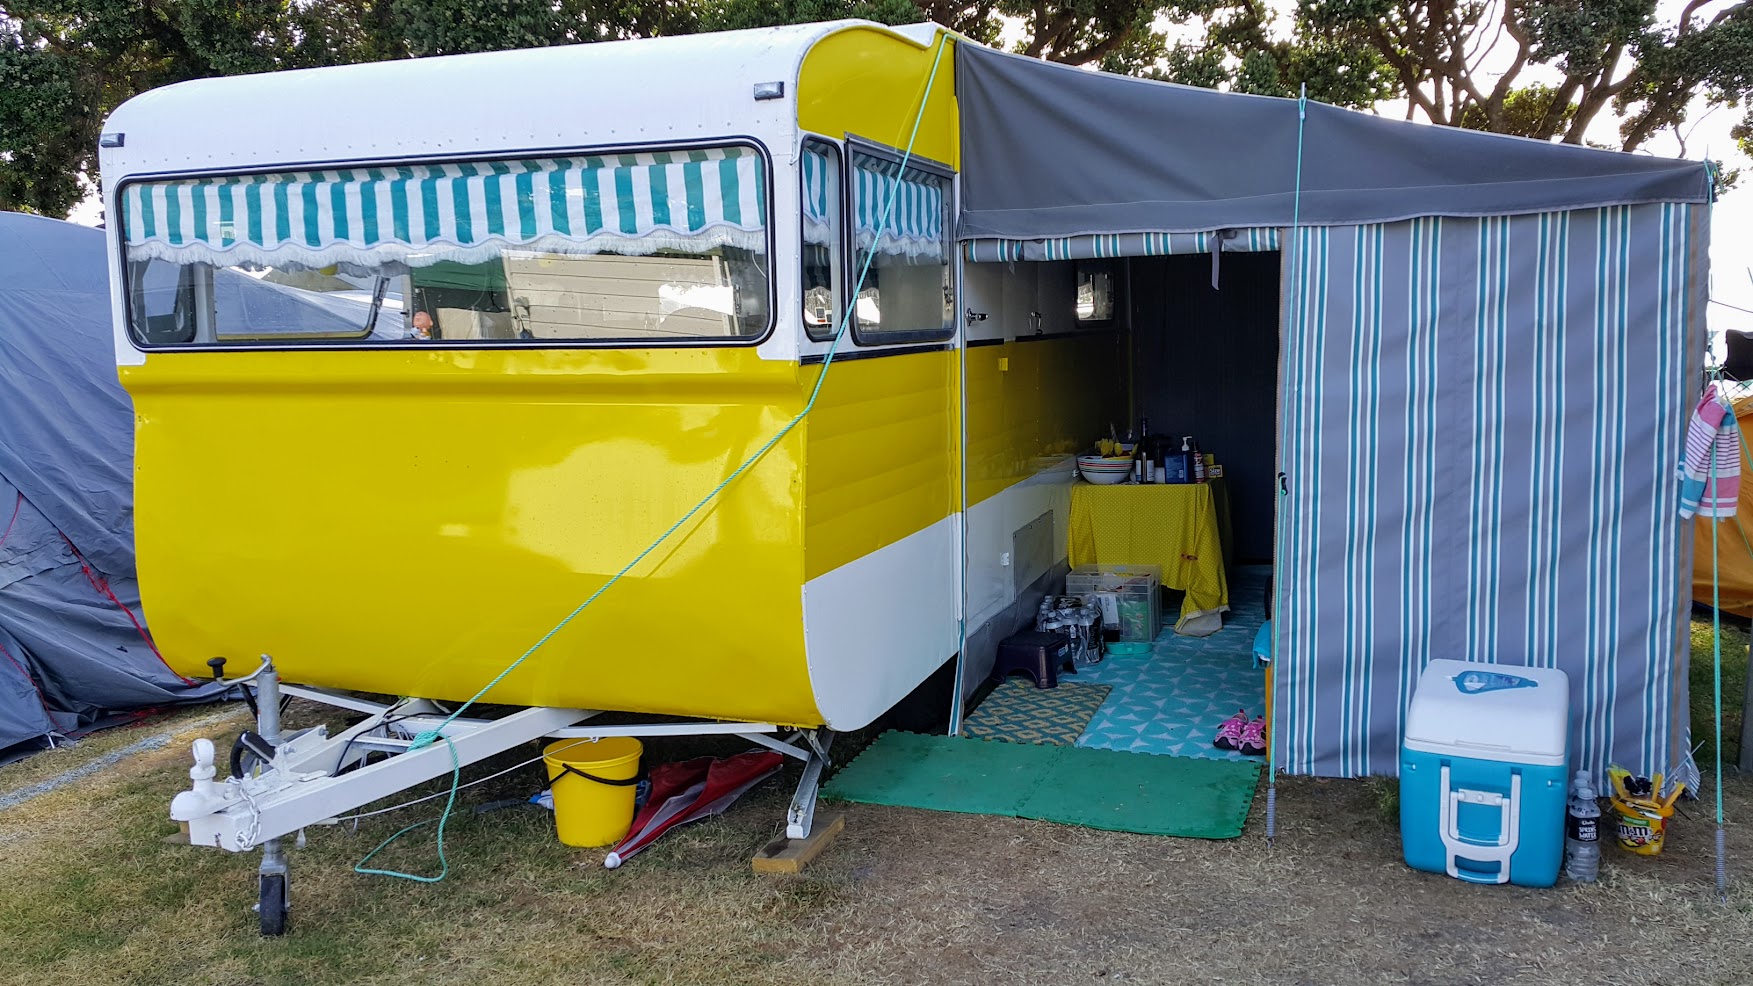
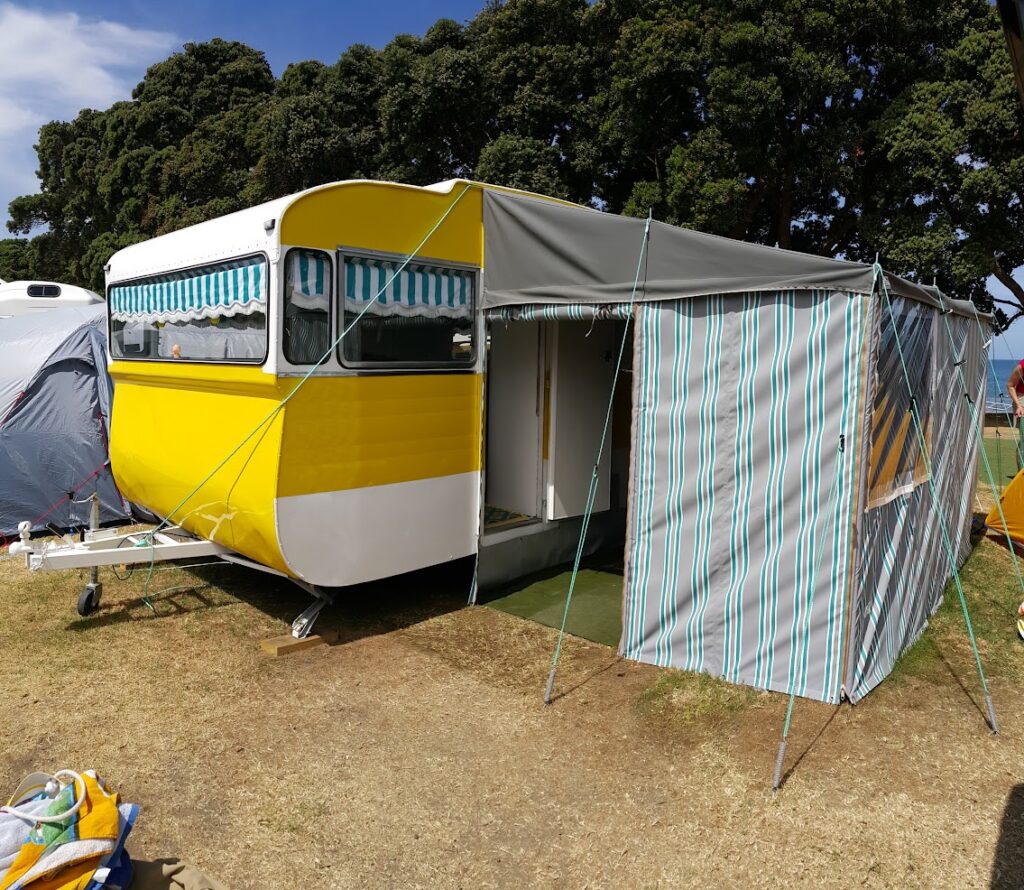
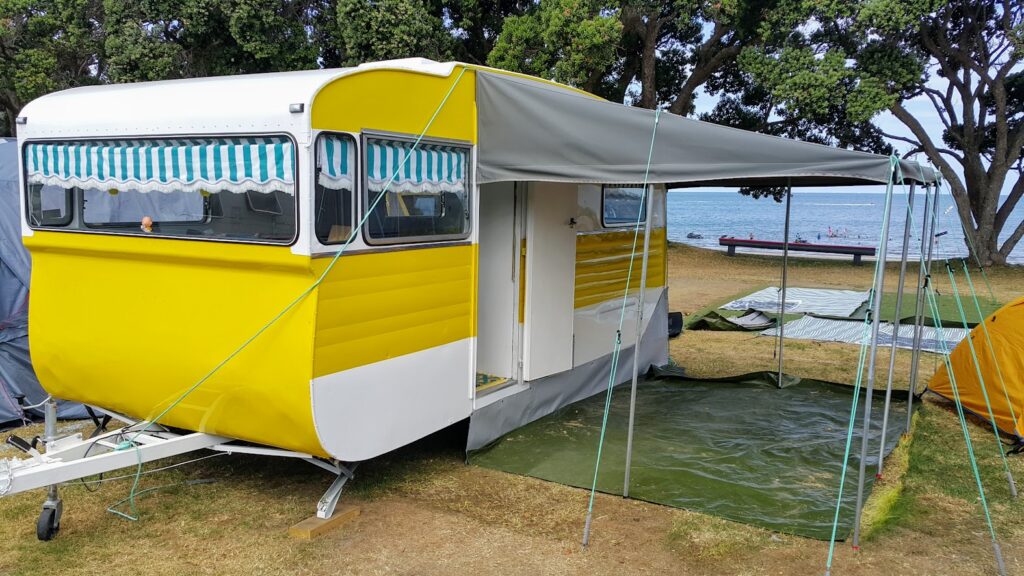
The first thing to work out is how big to make the awning. If you have a rail already on your caravan, this is the length (from front to back) you want to make it. With ours (see photo) we decided on a “3/4 length” awning. You’ll see a 3/4 goes to just beyond the door in our case, and there is a vertical rail to the door left. Any wider (for our caravan shape) would make it tricky. 3/4 Awnings mean that the front windows are still in the light and you can see out all around which is nice. It does give you less room inside obviously.
Width
We had ours made 2.1m wide (left to right) which is pretty much a standard. 2.4m is another option I’m told. The roof fabric I’ve linked to below comes in 2100 widths, so that is likely why that is the most common (you probably don’t want to have joins in the roof… but in saying that, ours has one vertical join)
We also wanted to be sure we could easily get on to most camp sites (taking in to account the caravan, awning and guy ropes), and 2100×3240 gave plenty of room for our usual setup.
Windows
You will usually pay a set amount per window, so decide how many you want. We just went for 2, on the long side and at the back (see plan sketch). We could have put a 3rd in at the front, but it was added cost and most of the time the front (or back, or both) doors are open anyway.
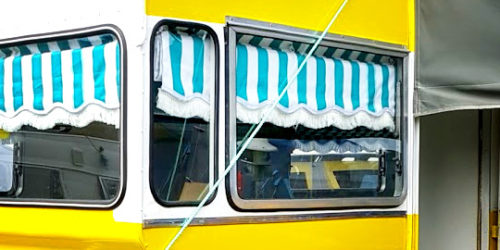
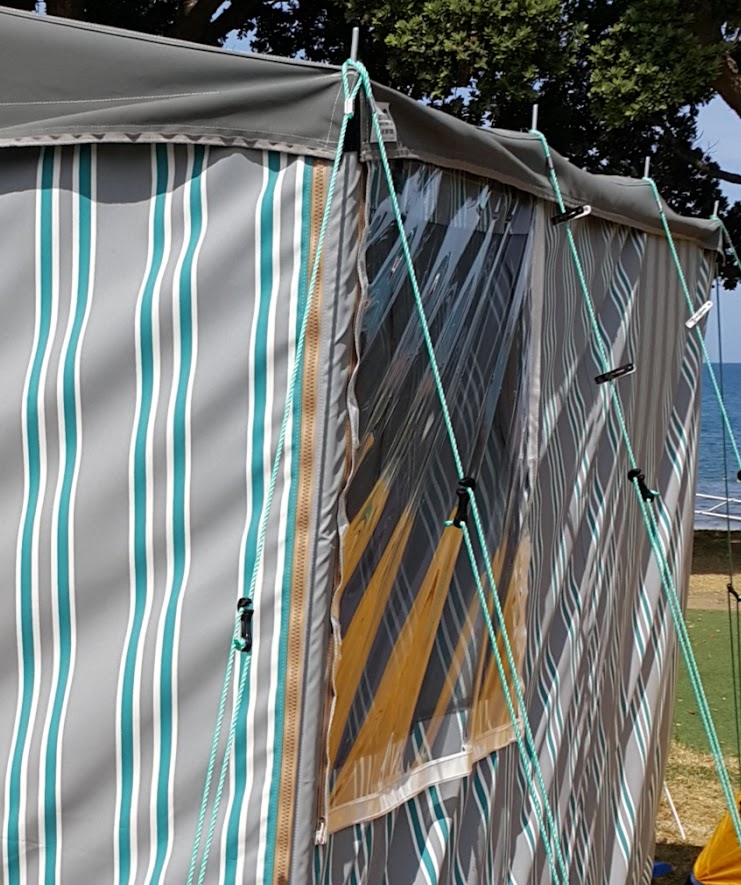
Windows are best as “3 Way”, which means (usually) there is a fixed insect mesh in the middle, a clear plastic window on the outside (which can roll up, from the outside only) and a canvas piece on the inside with zips left and right to close it (it zips closed from the bottom to the top). They might offer just a “2 Way” window or something slightly different, but our setup seems to be the norm.
Doors
We opted to have 2 places that roll up (or zip off completely) for doors. The front, nearest to the caravan door, and the back in the same place. It has been very handy having both as a few times we have used the back door because we are reversed into a camp site (with the beach to the rear). If you roll up both doors, you get your own walkthough corridor… (which usually just means people just traipse sand though it as a shortcut). When we camp, we are usually close by so more often than not the caravan door just stays open (including at night), unless we leave the campground and lock it. Again, our manufacturer charged us an amount per extra door (with 1 as standard).
Draught skirt
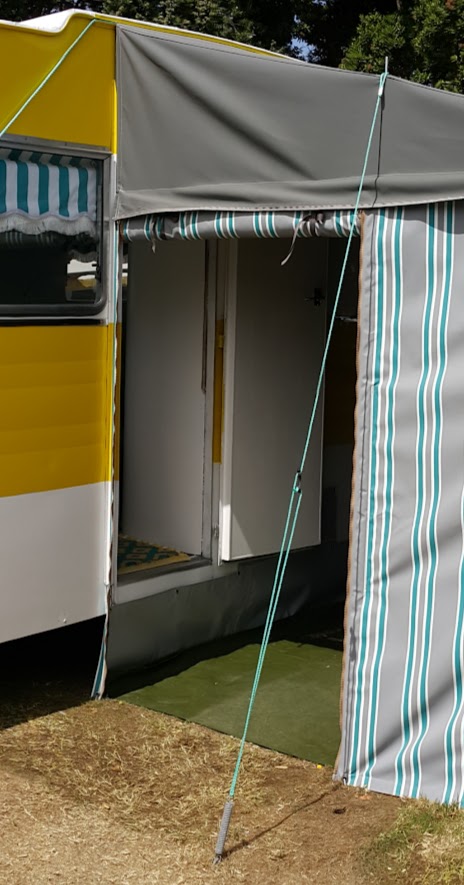
Most custom awning makers will supply a ‘skirt’ or ‘draught skirt’ for your awning. Usually in a robust waterproof roof type fabric, but it is in place to bridge the gap between the ground and your caravan on the awning side. It isn’t fun using an awning without one.
Sometimes an awning floor and skirt can be one piece. Usually the skirt will clip on to the side of the caravan with a bunch of button domes – in an older caravan they may have to fit more or replace some. You can see the clipped on skirt clearly in the photo below.
Sides
All our sides zip away from the roof. This is very handy and many a trip we have just used the roof without the sides, or taken a side off when it is really hot.
Additions & Customising
When you get the awning made, you can talk to your manufacturer about other extras – eg we had them sew in velcro under the roof rain edge, to attach bunting and string lights etc. You could also ask about front stone guards (you need a fitted front rail), or matching spare wheel covers.
Accessories
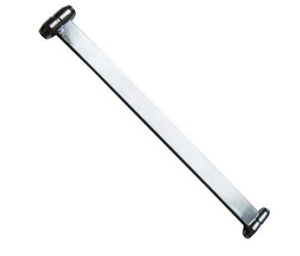
Finally, awning suppliers will usually provide a decent awning groundsheet (to the correct size), some poles, ropes with tension springs and pegs/peg bag – all in a custom made bag of some sort to fit it. We also got a simple pole bag and peg bag, both from polyethylene (or the same material as the groundsheet) These days poles are usually galvanised steel, or possibly aluminium and adjustable as to get as much height as possible. Poles at different places likely need to be at differing heights (depending on your caravan design).
Awning Fabrics
An awning manufacturer will discuss the fabric you want, and many will let you look over a vast array of swatches. Or awning maker is a 5 hour drive away… and they couriered a huge swatch book for us to look though.
There are 2 fabrics to select, the roof and the sides. Your manufacturer will explain the types, and ours let us select from a few. I’ve linked to the canvas suppliers’ websites directly, but be aware your awning manufacture will only offer you the products they are familiar with, and not all the shown designs may be available. Also, I highly recommend looking at the fabrics and weight in person, not just online.
Roof Fabric
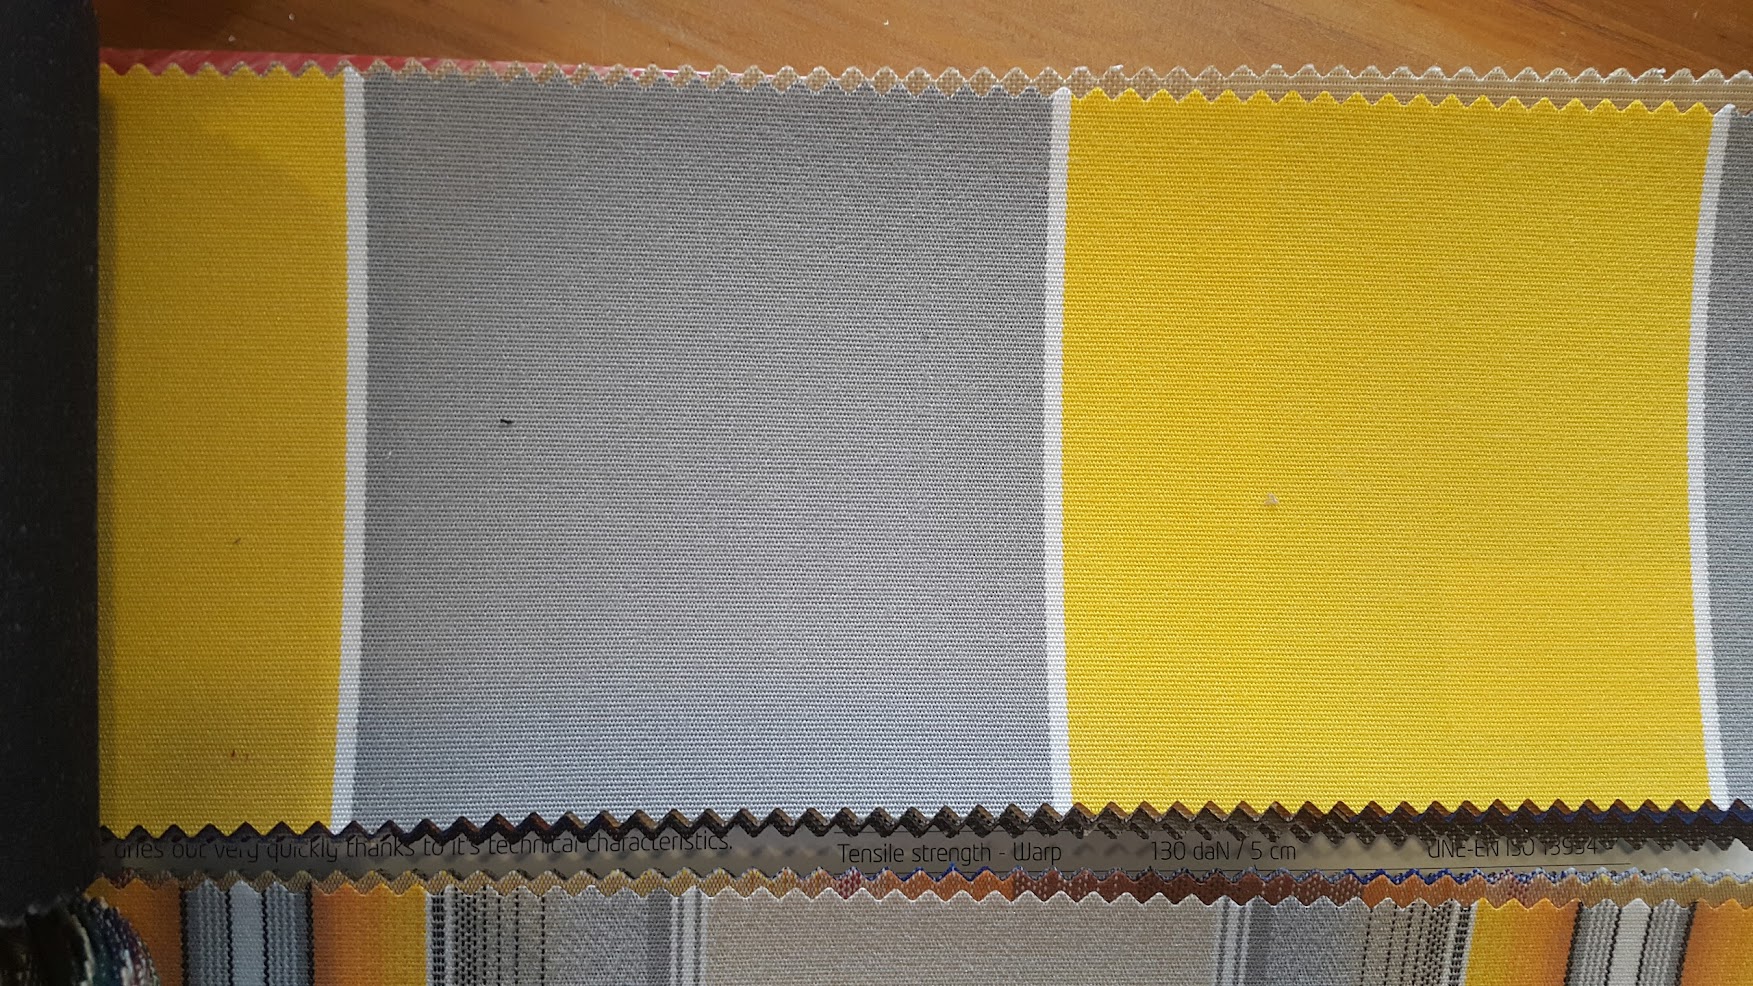
This has to be pretty solid and waterproof. The fabric they selected was a heavyweight DX12 by Contender which comes out at 505gsm in weight and is designed specifically for keeping a decent head of rain out. It still came with a goods selection of colours though, although grey is really the best option (there is also a light grey that didn’t look too bad). Here is the manufacturers page showing all the fabric properties and the colours they make. You don’t want to be cleaning bird poop and mud off a light colour!

Wall Fabric
Modern canvas is made in has so many colours to select from it was pretty hard to select the walls. Even with the colours to match the caravan (bright yellows and teal) we still had about 10 that would have worked from the 3 ranges we were offered:
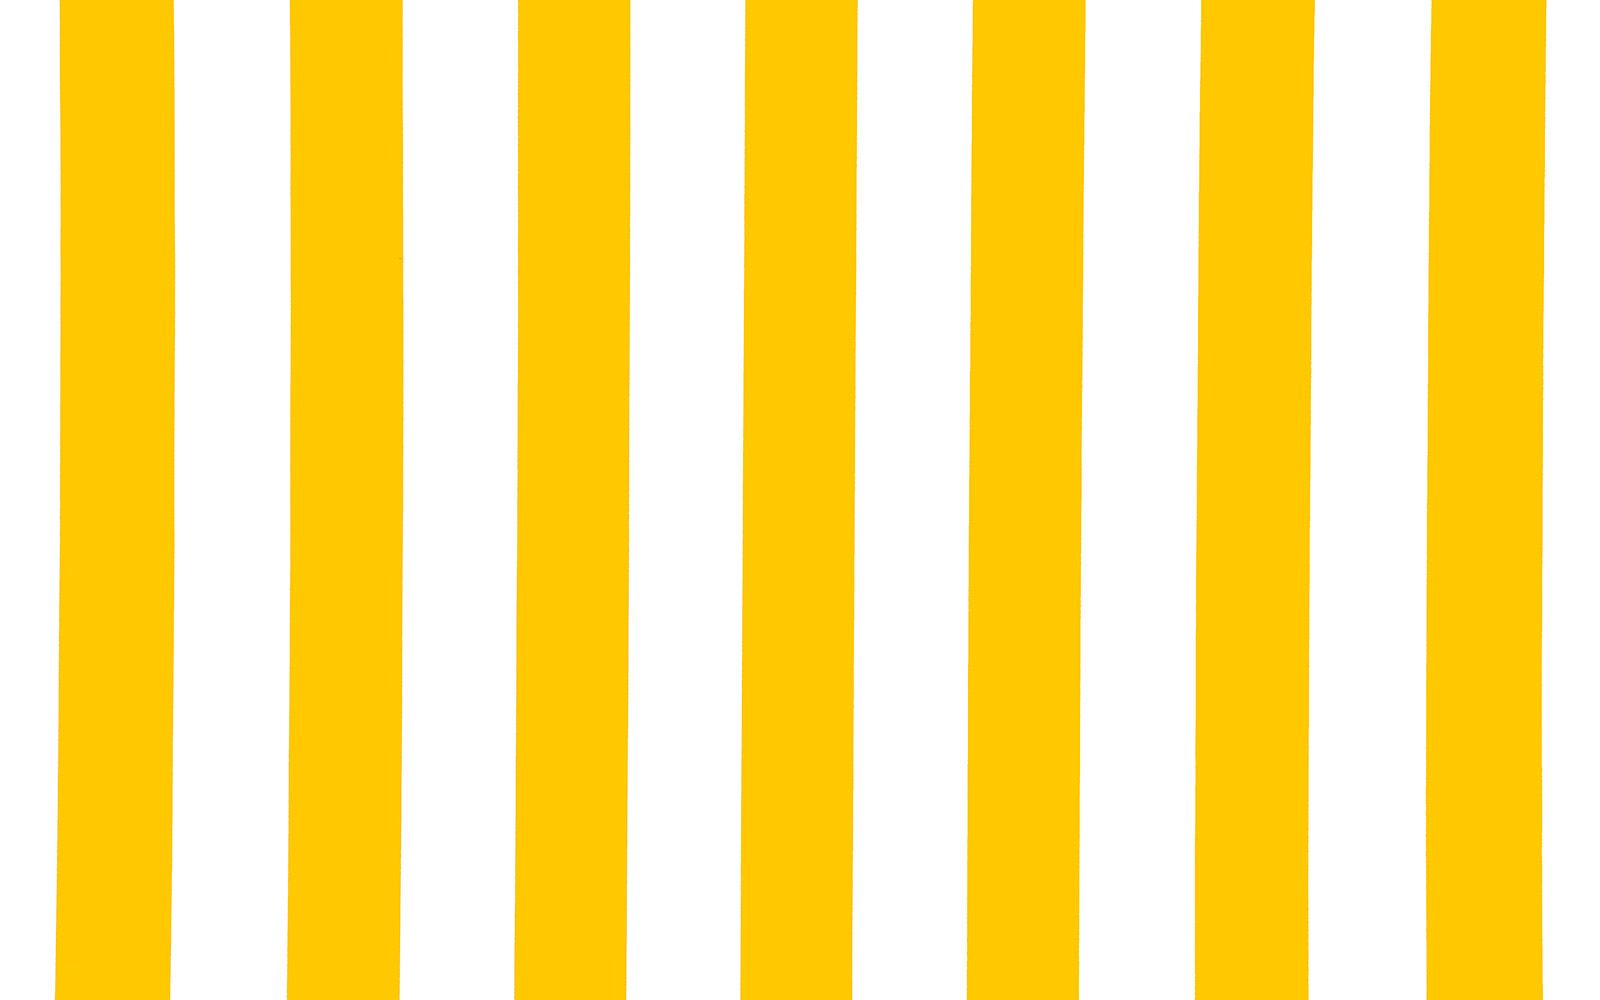
Docril, by Straitline
This has a huge colour selection, in 295gsm from plain colour to retro stripes. We loved the yellow and white vertical stripe especially.
Sauleda Solar Pro Sensations
Again a lot in the range, in a 300gsm weight.
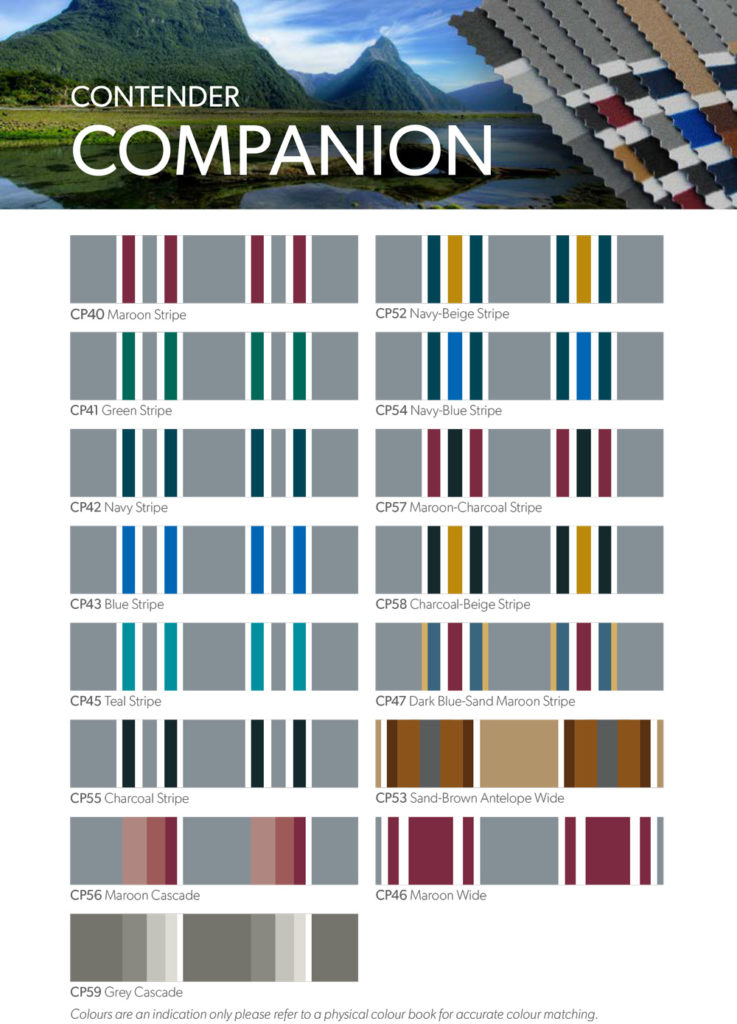
Companion by Contender
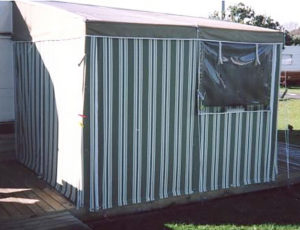
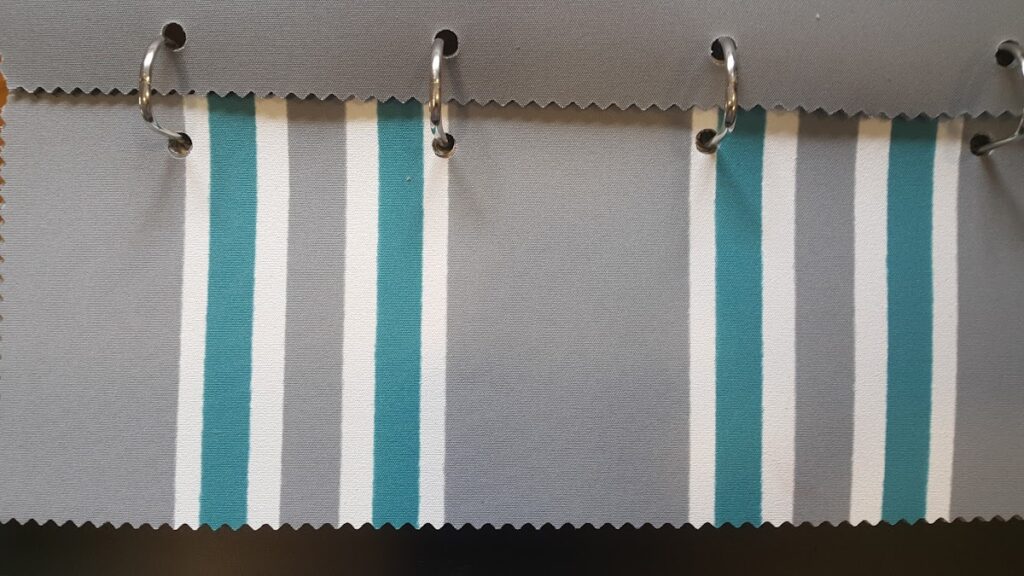
There are only 16 fabrics in the Contender Companion range they had, and we ended up selecting the CP45 Teal stripe. The one standout with this product that it was the only ‘thick’ old school wall canvas they offered, being a nice heavy 350gsm.
Selecting something that would last a long time was very important to us, and we were also told the companion range was the only one that is pretty light proof – even the white parts of the canvas blocked most of the light.
The other ones (especially the yellow and white stripe) let a lot of light though, which… like a modern pup tent… is not great for privacy with an internal light on, and also starts to look messy very quickly (doubly so with light colours). The thick canvas can easily take a scrubbing.
Final Awning